How to Crochet a Simple Rose with Leaves: A Beginner-Friendly Tutorial
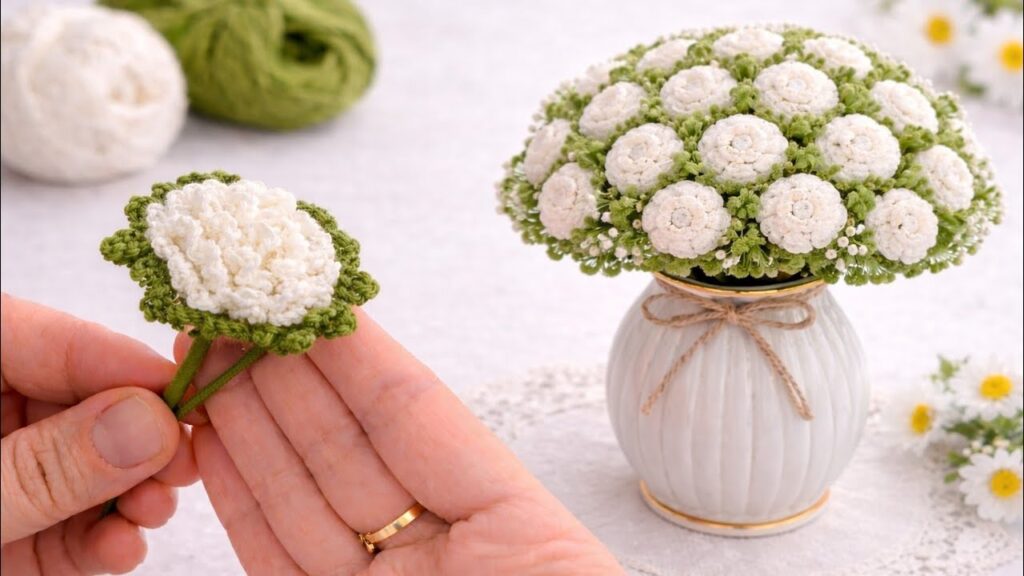
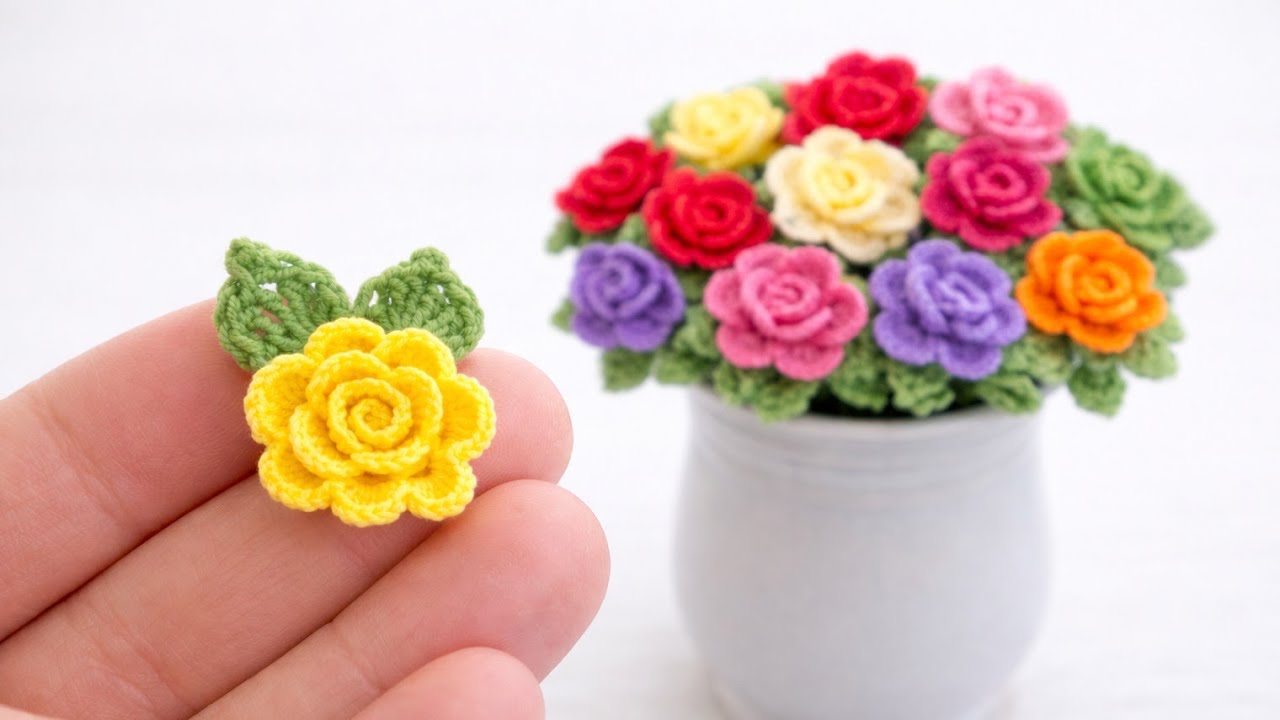
Are you looking for a beautiful, handmade way to embellish your projects? This Easy Crochet Rose with Leaves is the perfect floral addition to hats, bags, blankets, or even as a standalone bouquet! In this tutorial, we’ll walk you through the step-by-step process of creating a stunning 3D rose with attached green leaves, all in one continuous piece.
Why You’ll Love This Project
- Beginner-Friendly: Uses basic stitches like the single crochet (sc), half double crochet (hdc), and double crochet (dc).
- One-Piece Design: The leaves are worked directly onto the petal strip, making assembly a breeze.
- Versatile: Perfect for hair clips, brooches, or home decor.
- Quick & Satisfying: You can complete a rose in under 20 minutes!
Crochet Abbreviation Chart
To make this pattern easy to follow, we use standard crochet abbreviations. Refer to this chart if you’re unsure of any terms:
| Abbreviation | Description |
|---|---|
| beg | begin/beginning |
| ch | chain stitch |
| dc | double crochet |
| hdc | half double crochet |
| sc | single crochet |
| sl st | slip stitch |
| st | stitch |
| tr | treble crochet |
| yo | yarn over |
Materials Needed
Before we beg, gather the following supplies:
* Yarn: Cotton or acrylic yarn in your choice of flower color (e.g., white, pink, or yellow) and green for the leaves.
* Hook: 2.20mm (Size 3/0) crochet hook.
* Tools: Scissors and a tapestry needle for assembly.
Step-by-Step Pattern Instructions
1. The Rose Foundation
We start by creating a mesh-like foundation that will hold our petals.
To Begin: Using your flower color, ch 44.
Row 1: sc into the 8th ch from the hook to create the first loop. * ch 3, skip 3 chs, and sl st into the next ch. rep from * across the entire length until you have a total of 10 loops.
2. Crocheting the Petals
Now, we’ll fill those loops to create the soft, rounded petals of the rose.
Row 2: Turn your work. In each of the first 8 loops, work the following sequence:
* 1 sc, 1 hdc, 4 dc, 1 hdc, 1 sc.
* Continue until 8 petals are completed. Fasten off the flower color, leaving a long tail for sewing.
3. Adding the Leaves
Switch to your green yarn to add the finishing touch.
Leaf 1: Join green yarn to the 9th loop. ch 2, 1 dc, 2 tr. Create the leaf point by ch 3 and sl st into the first ch (picot). Complete the leaf with 2 tr, 1 dc, and 1 sc.
Leaf 2: In the 10th (last) loop, work: 1 sc, 1 dc, 2 tr, ch 3, sl st (picot), 2 tr, 1 dc, 1 sc. Fasten off and weave in the green ends.
Assembly & Finishing Instructions
The magic happens when you roll the strip into its final 3D shape!
- Roll: Lay the petal strip flat with the leaves at one end.
- Shape: Start rolling the strip from the opposite end (the end without leaves) toward the leaves. Keep the bottom edge aligned as you roll to create a beautiful spiral rose shape.
- Secure: Once rolled, use your tapestry needle and the long flower color tail to sew through the bottom layers of the rose. Make sure to catch every layer and the base of the green leaves to ensure everything is securely attached.
- Final Touches: Gently pull at the petals to “bloom” the rose and adjust the leaves so they peek out from the bottom.
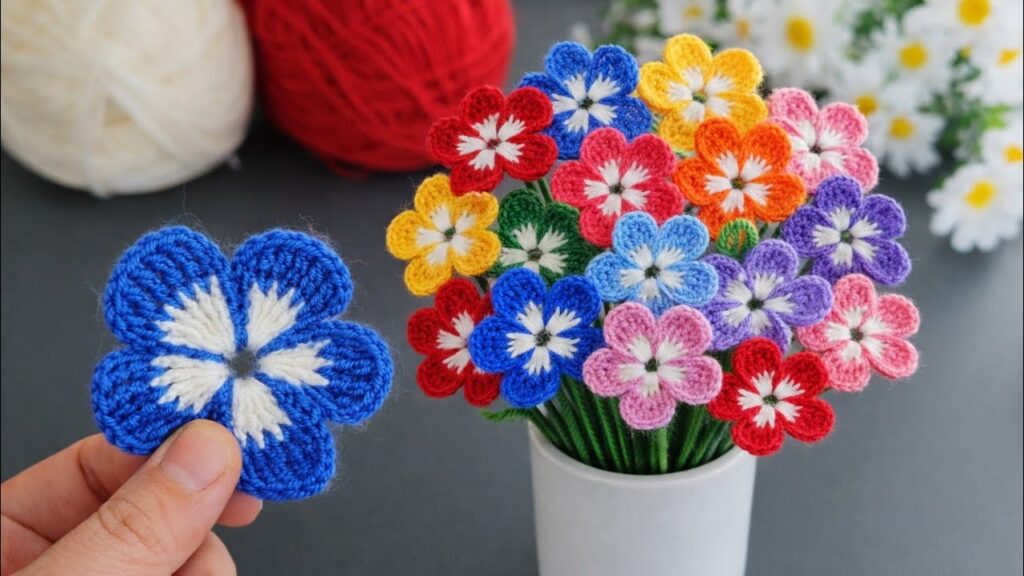
Congratulations! You’ve just created a beautiful crochet rose. These look stunning in a variety of colors—try making a whole bouquet!
Tag us on Pinterest or Instagram with your finished projects—we’d love to see your Fiber Blooms creations!