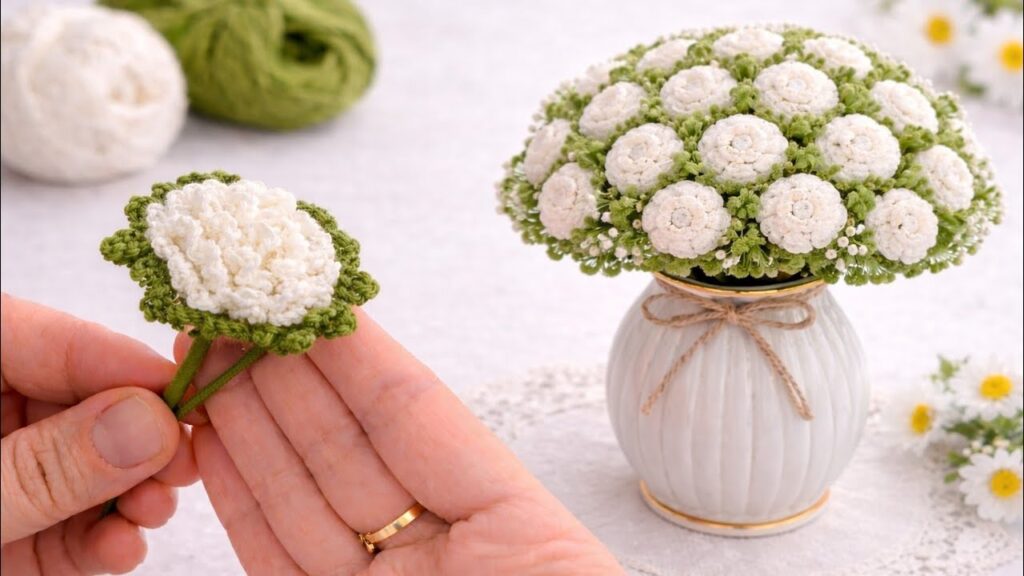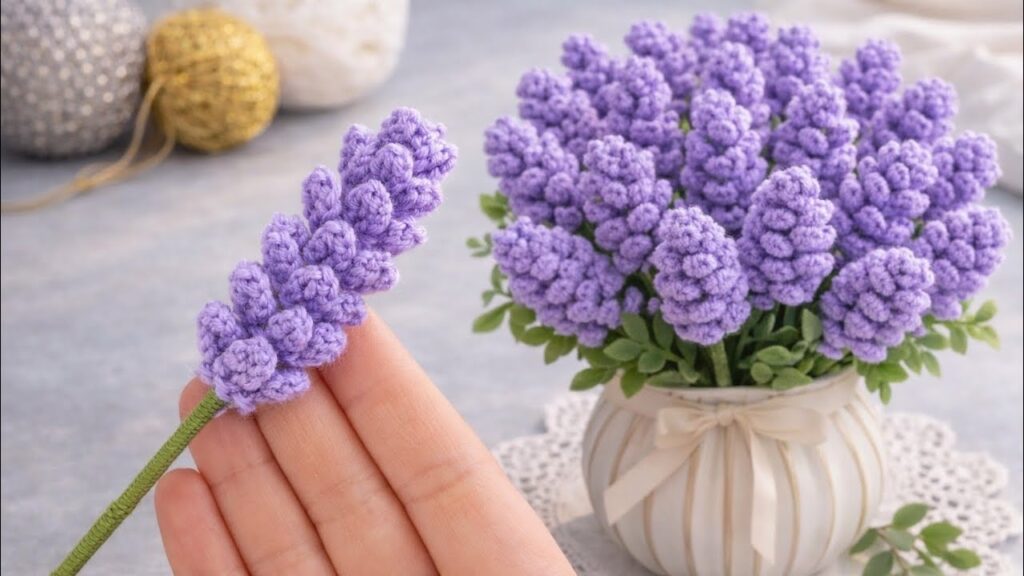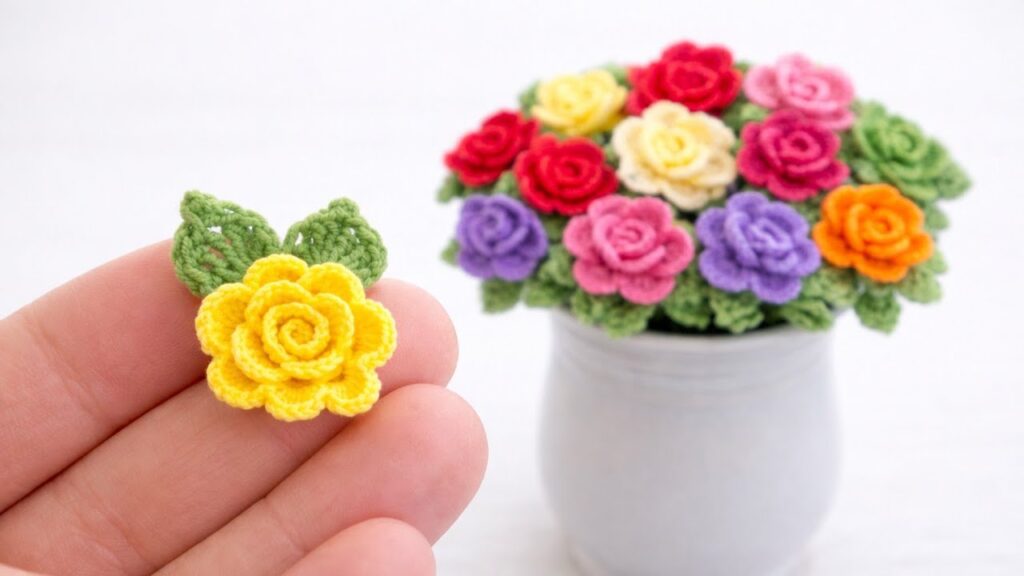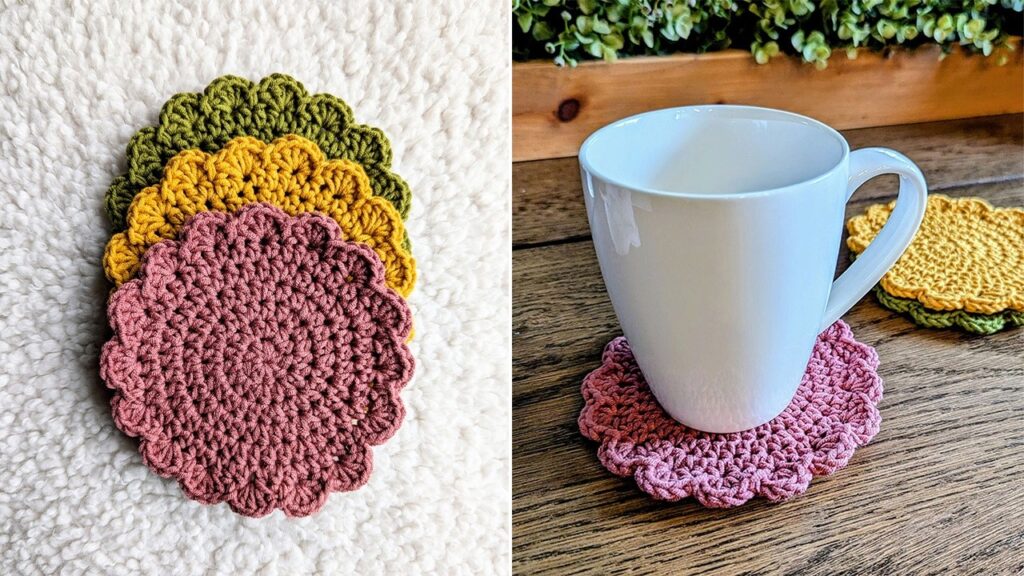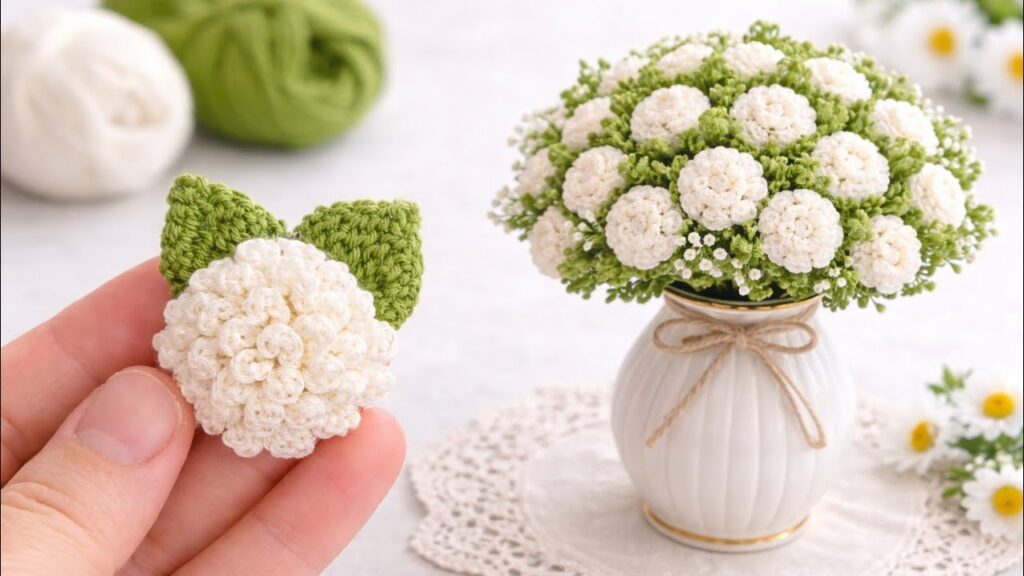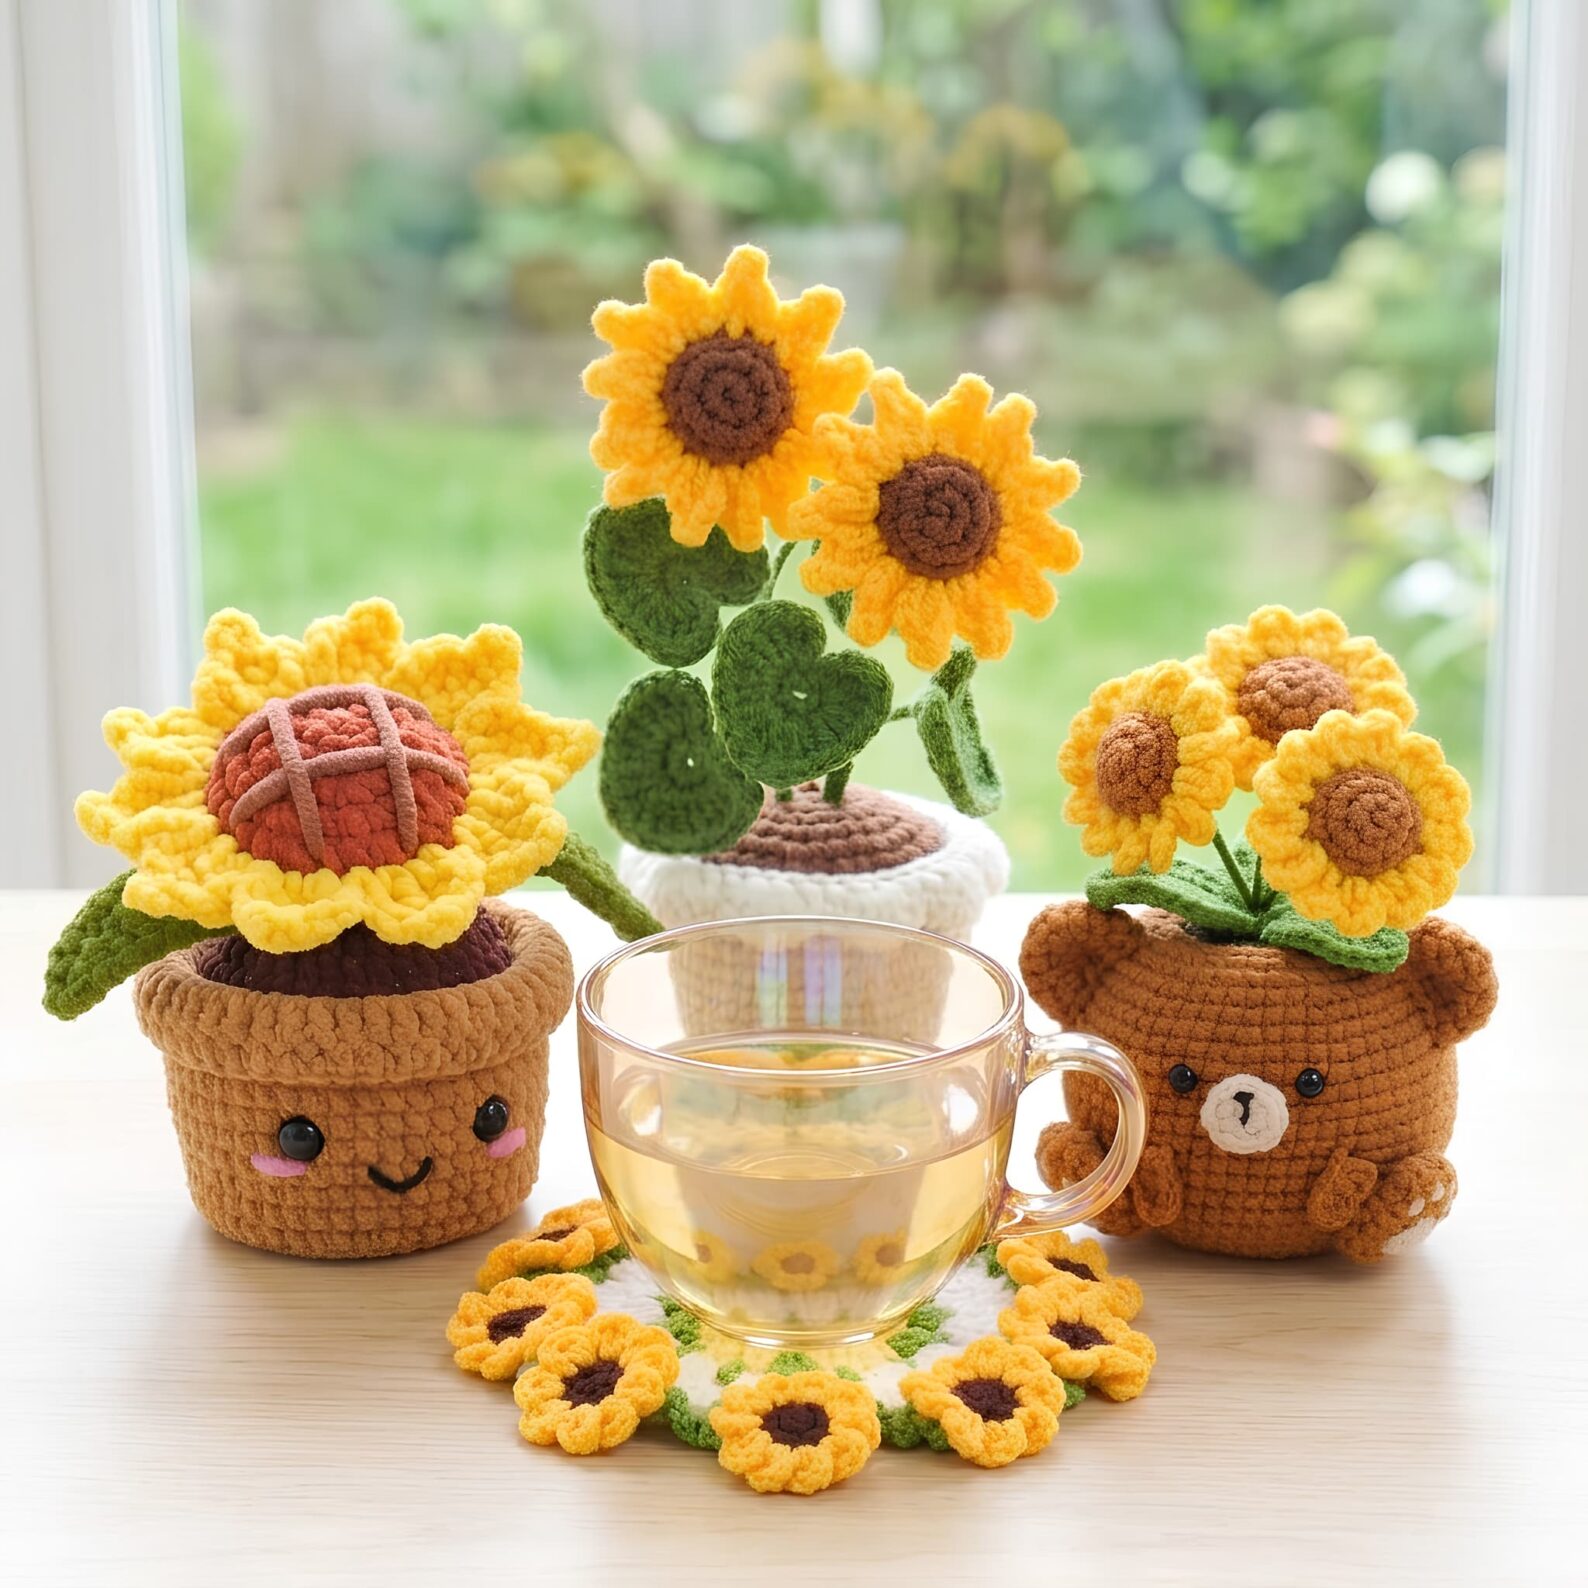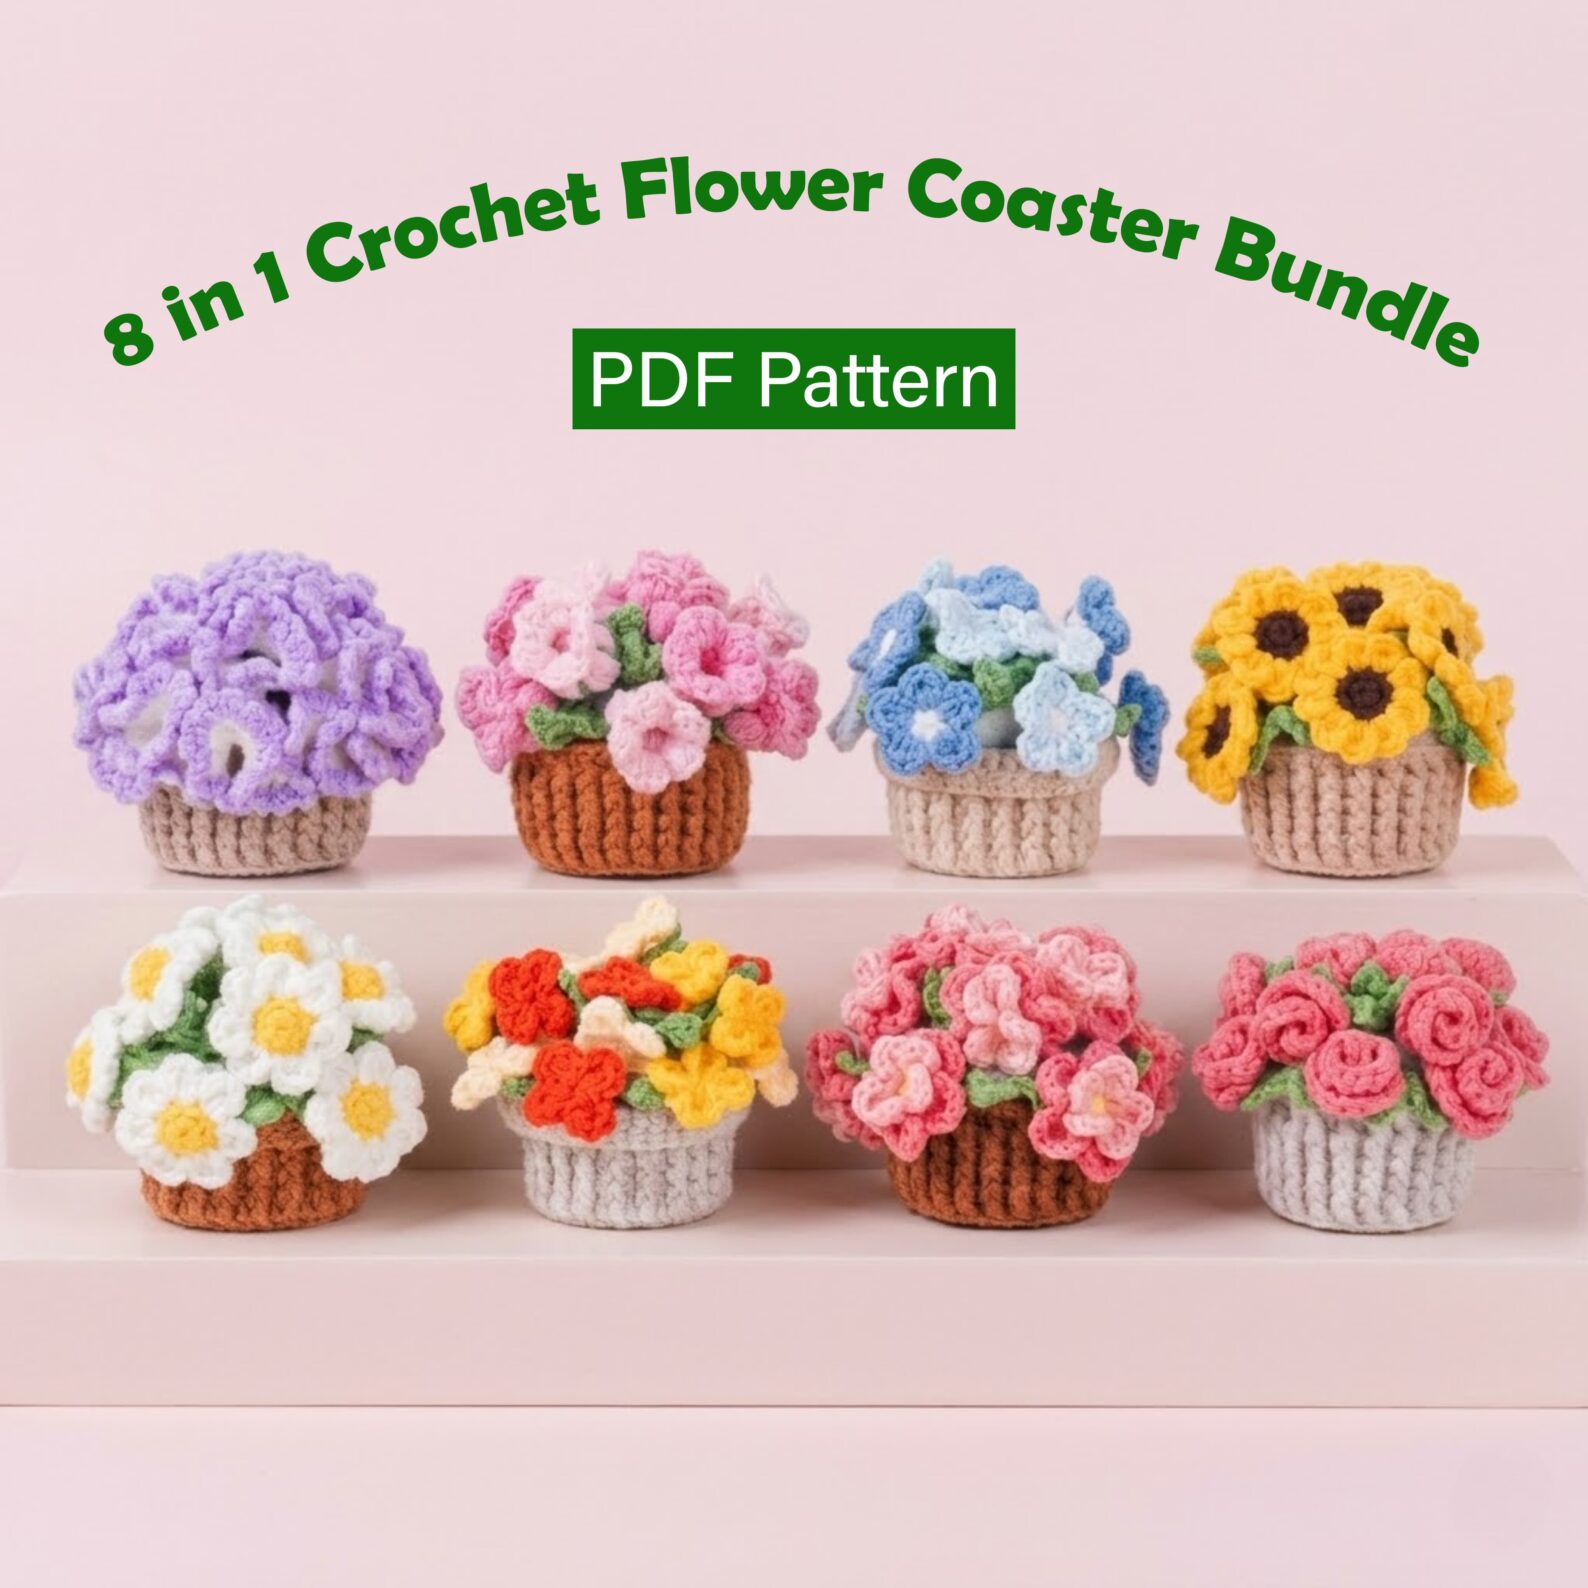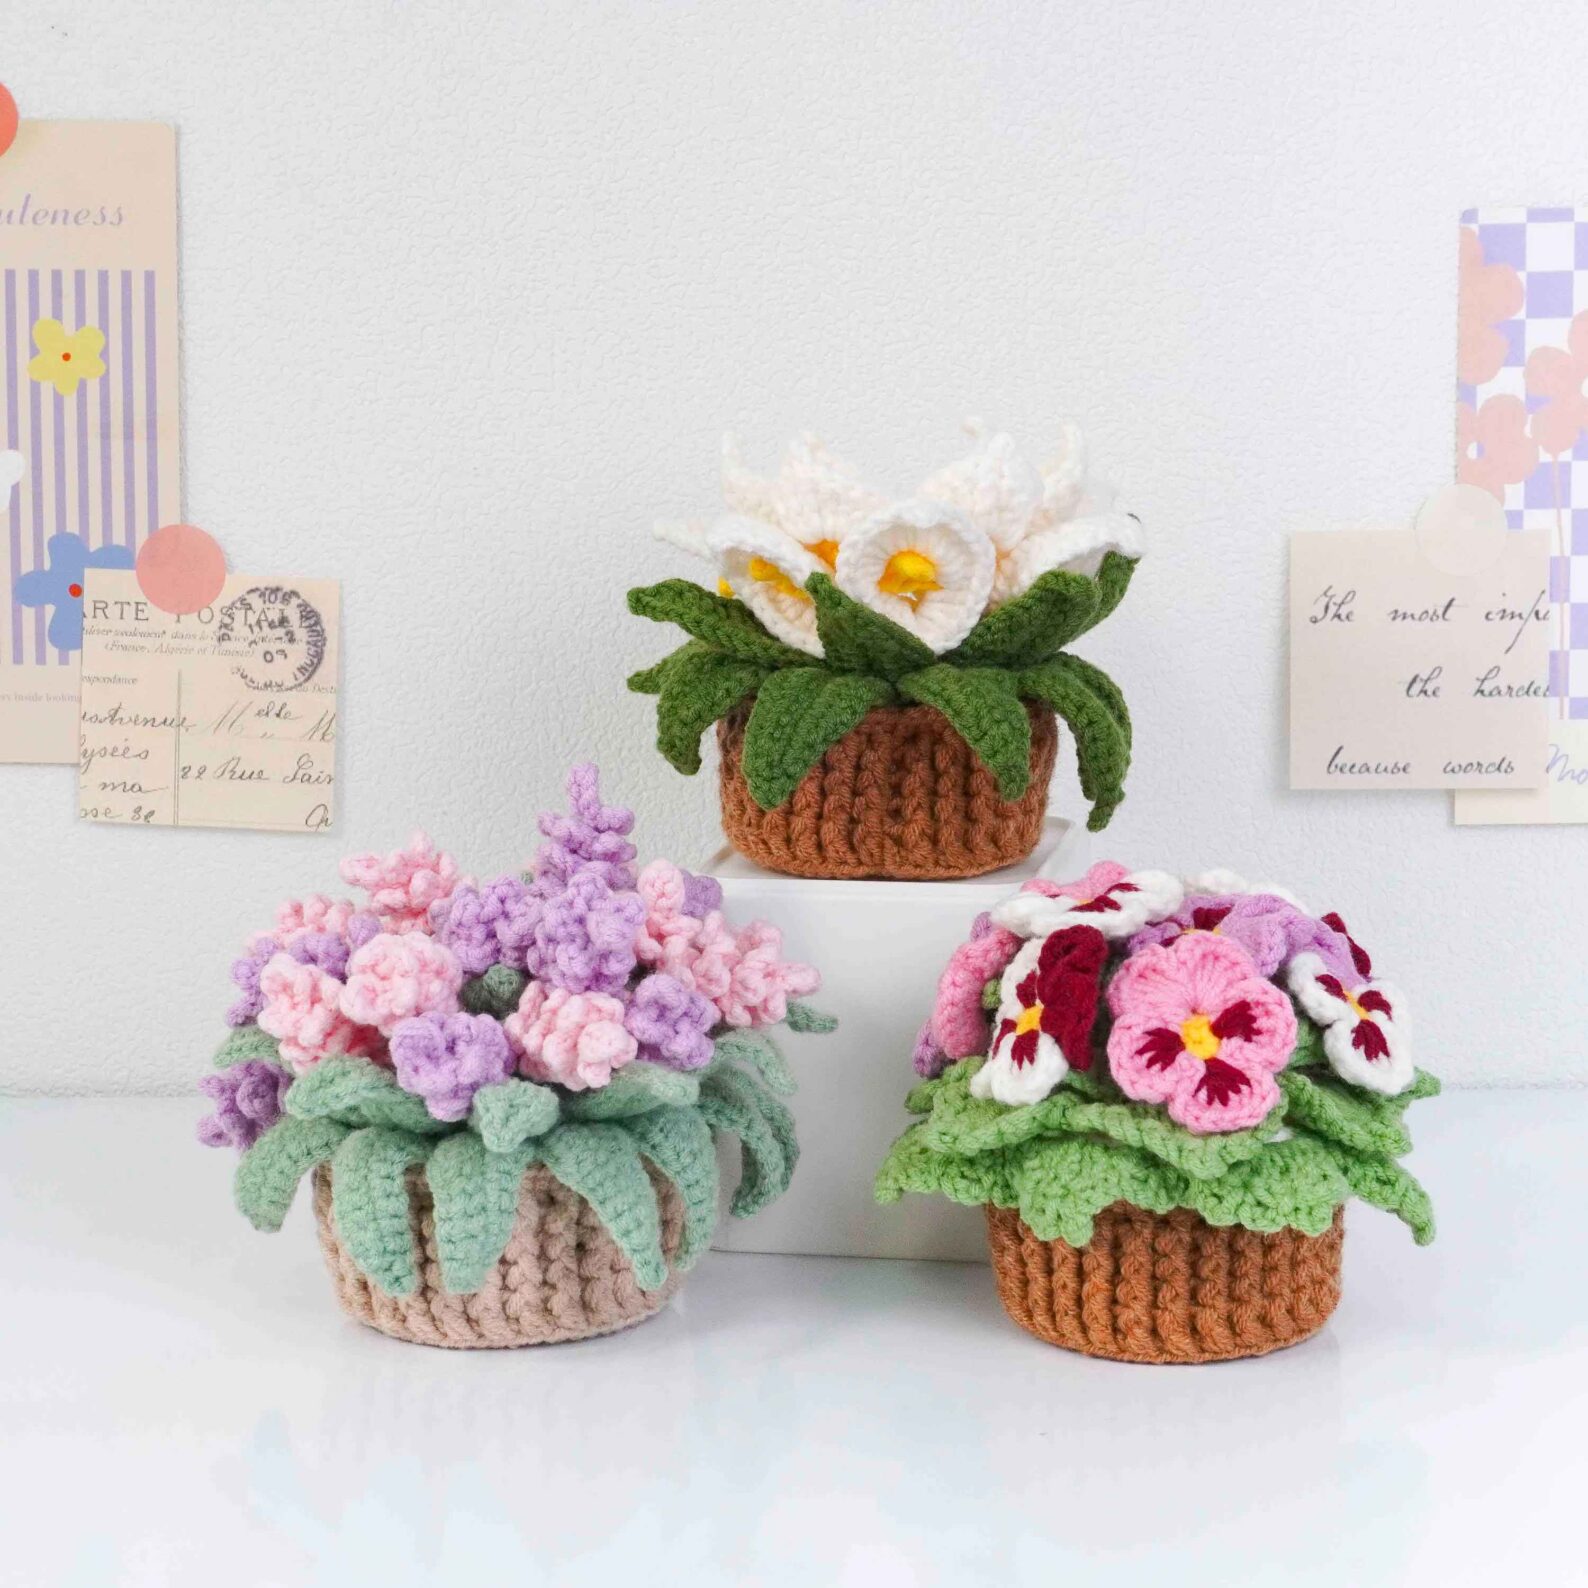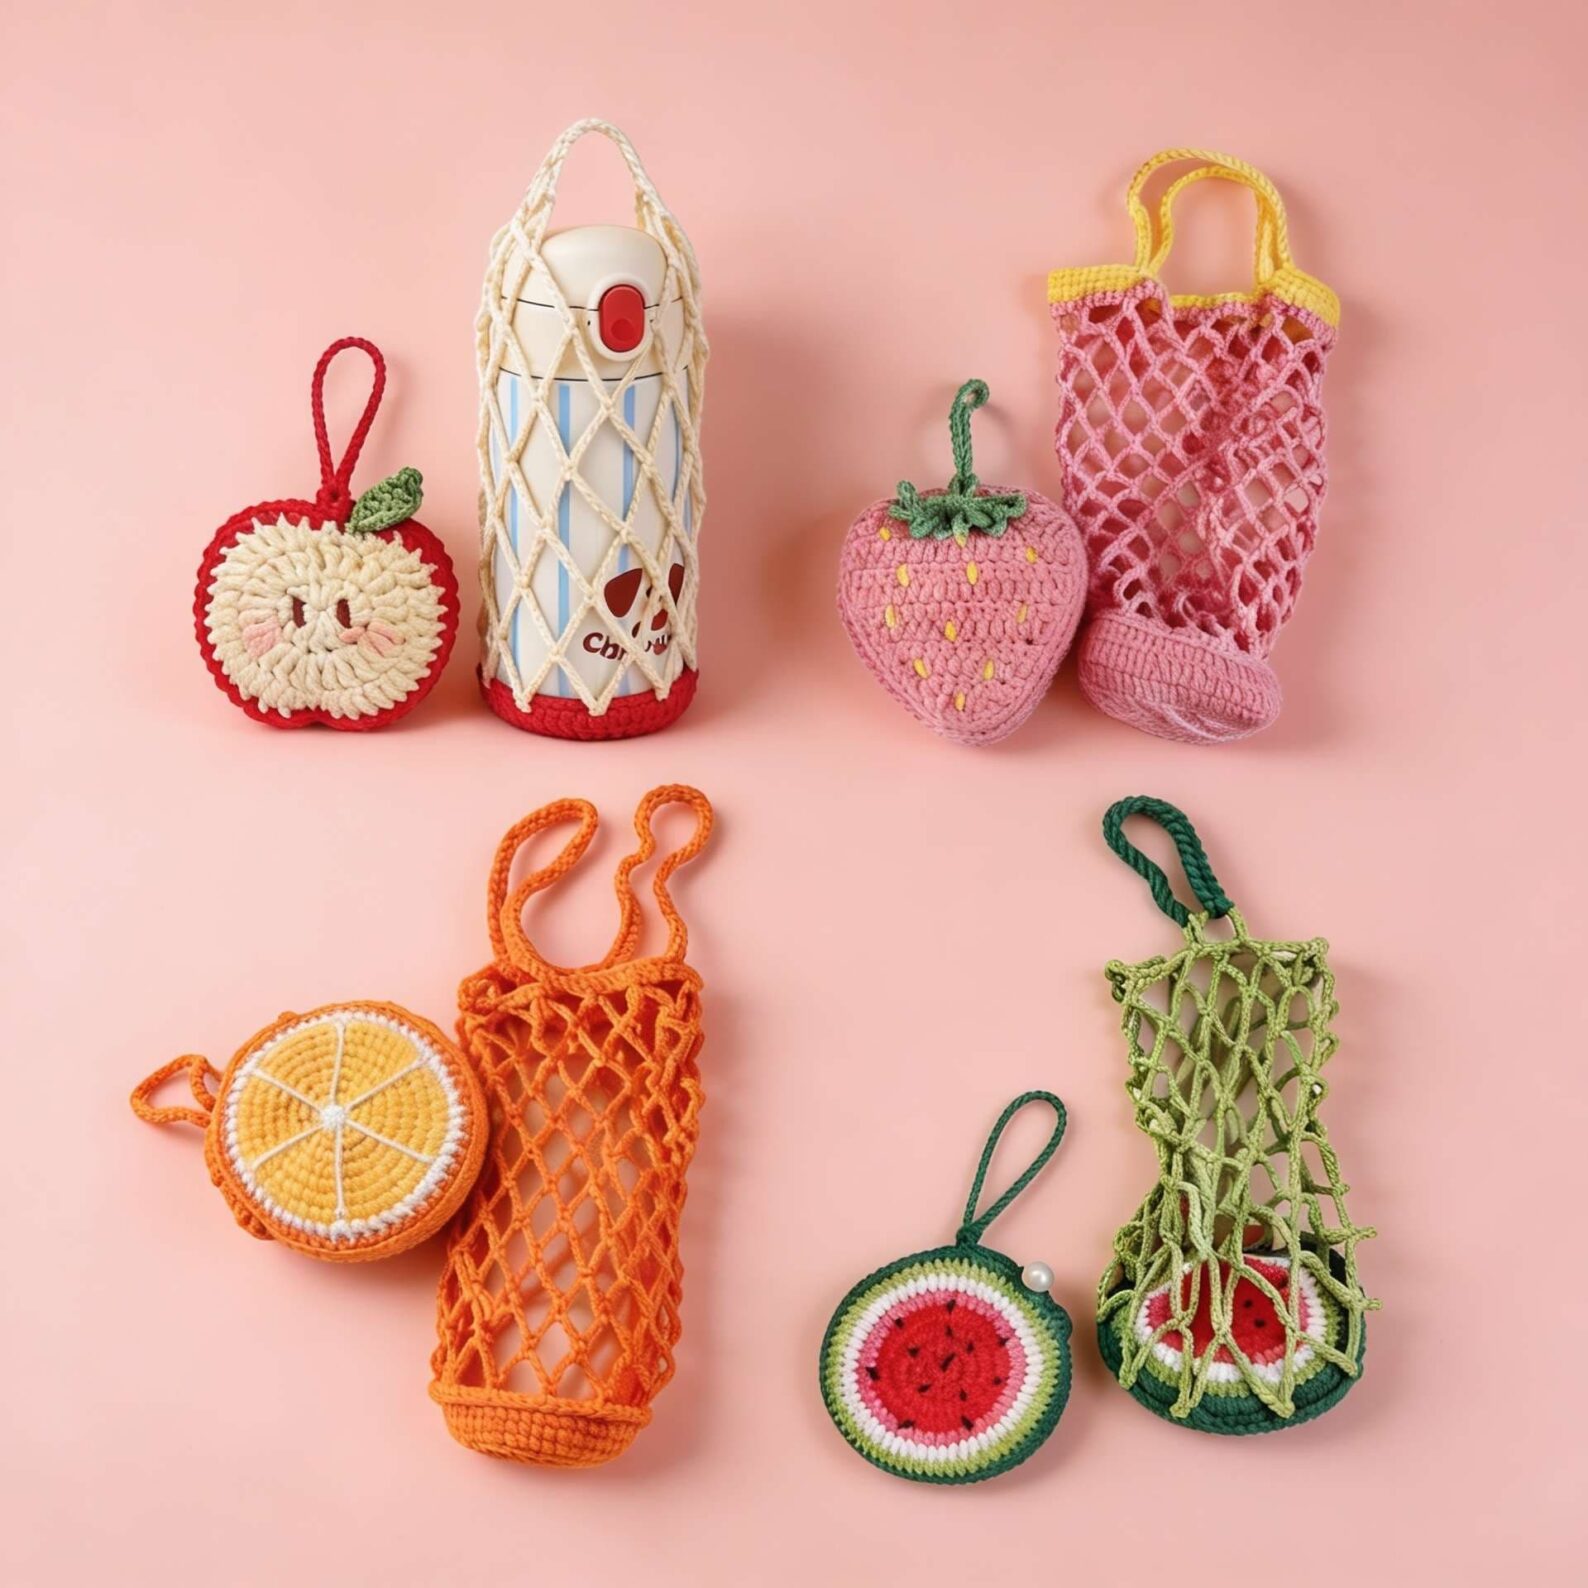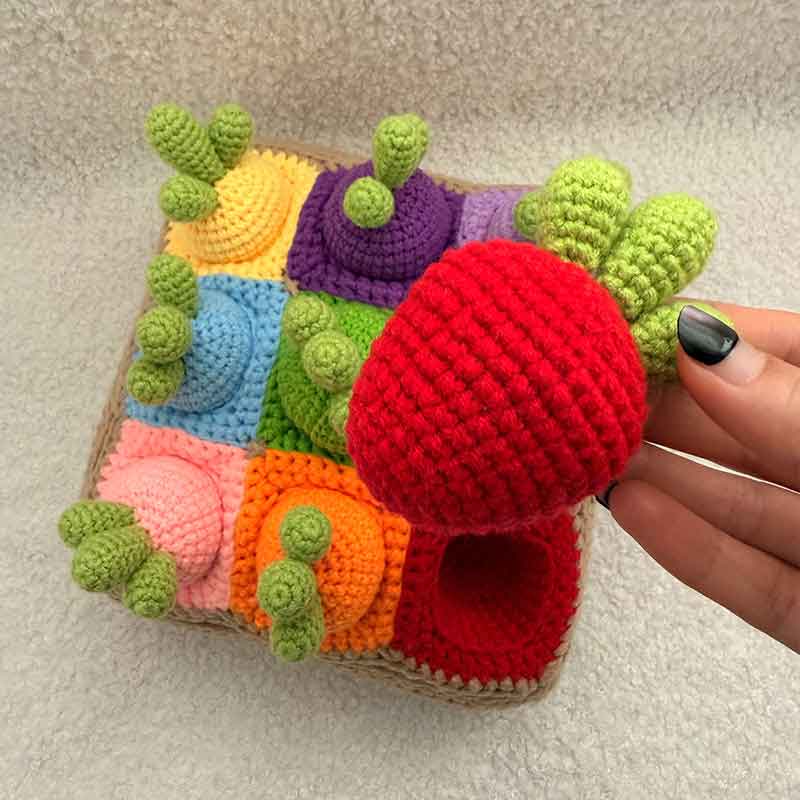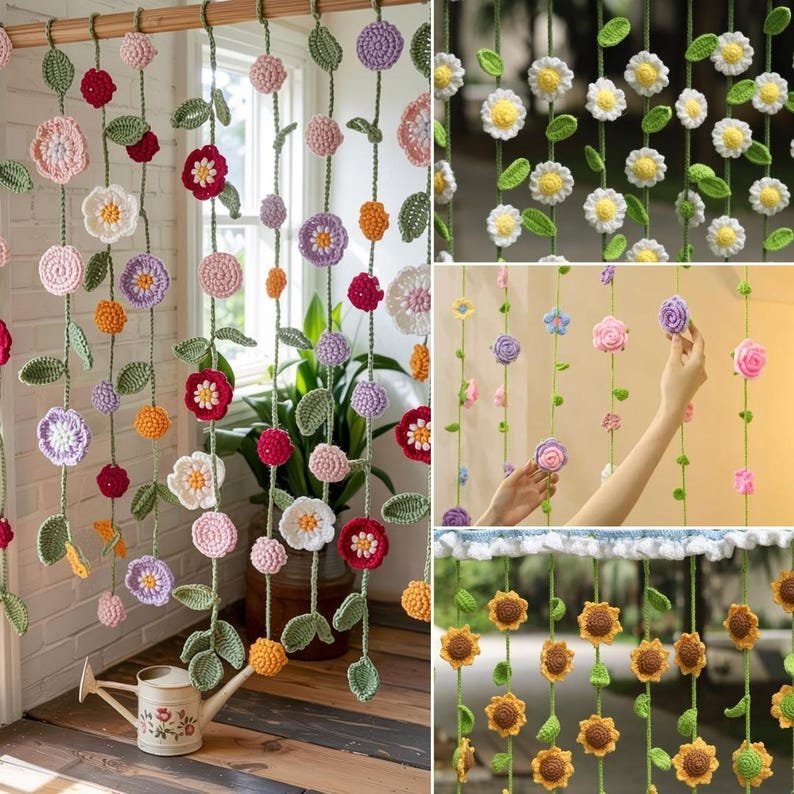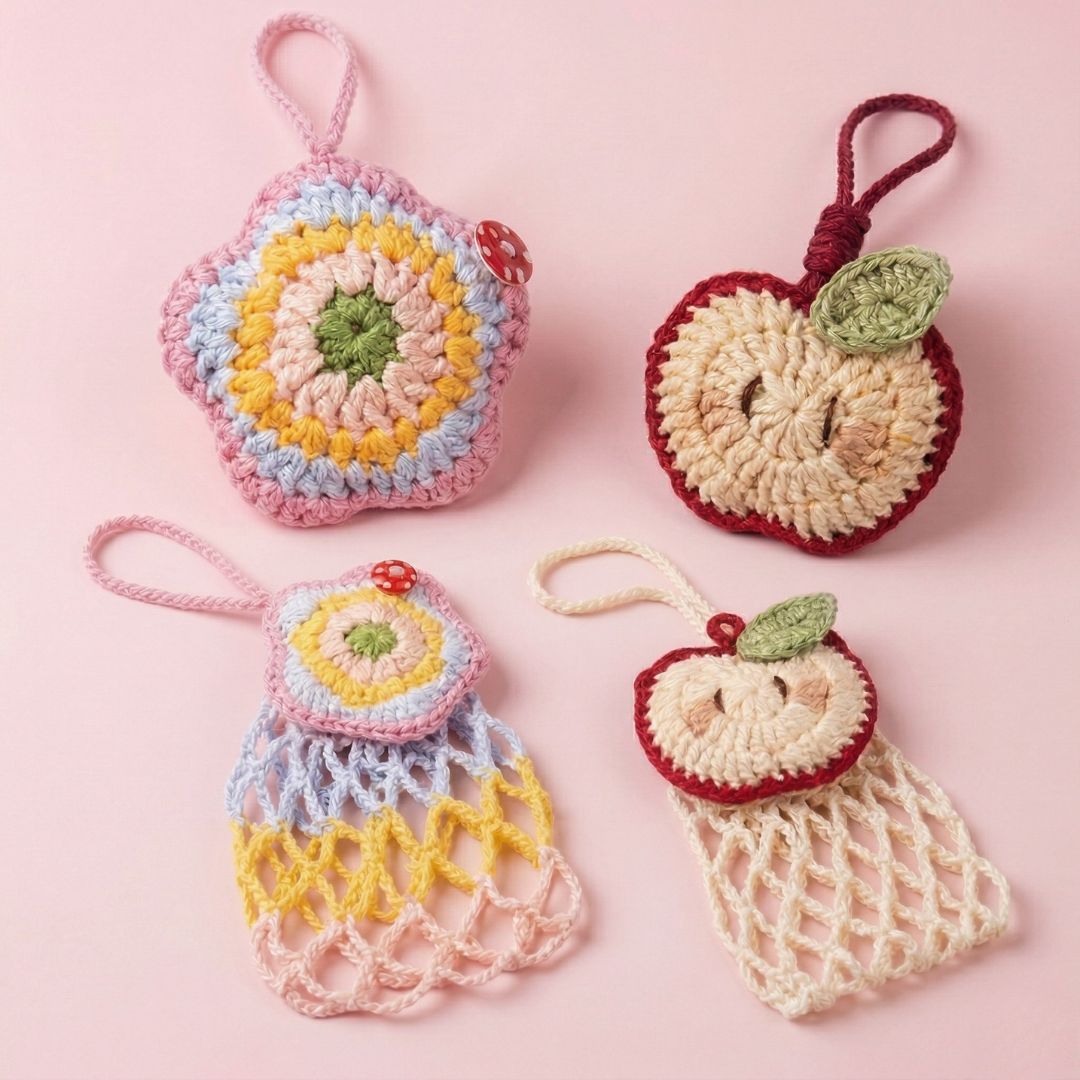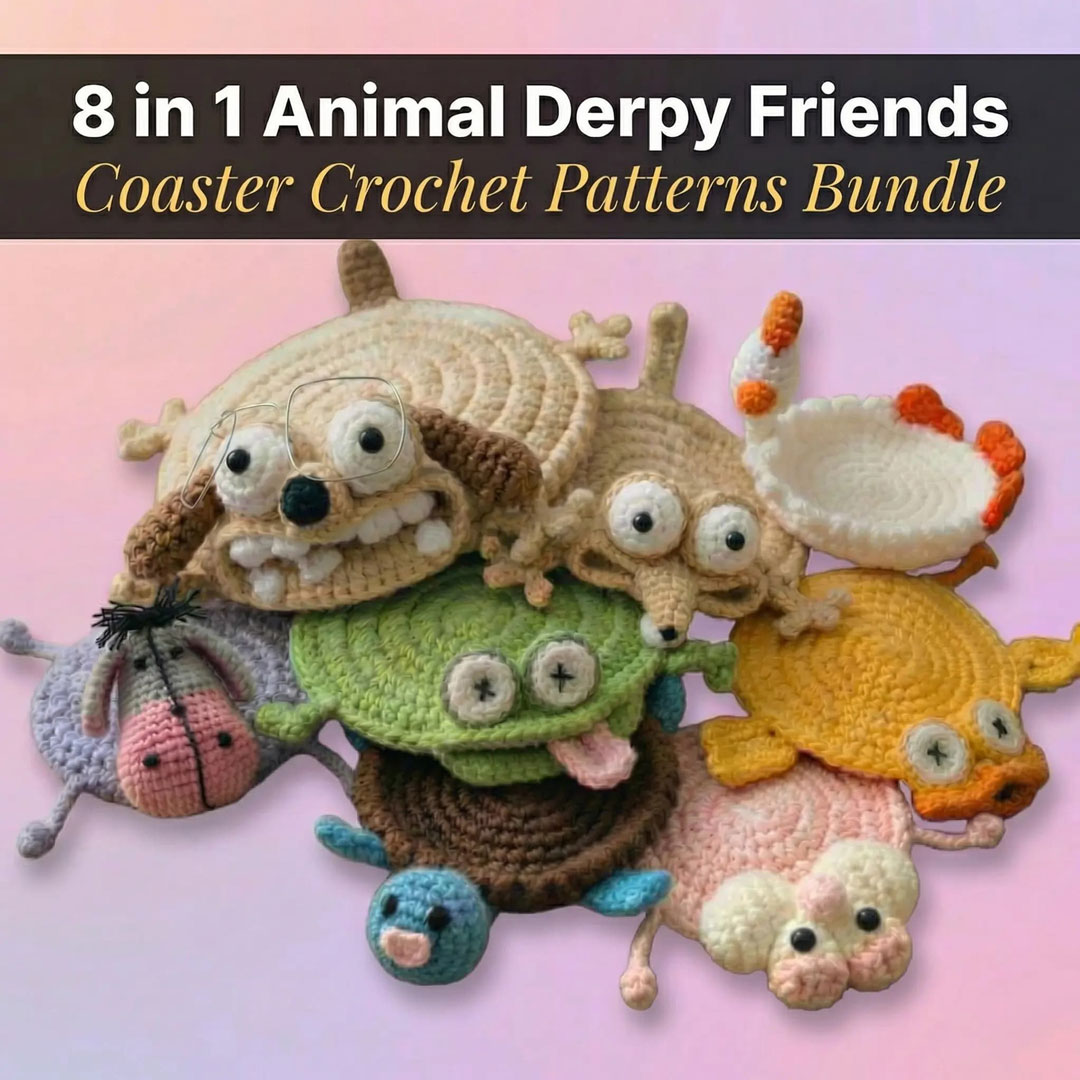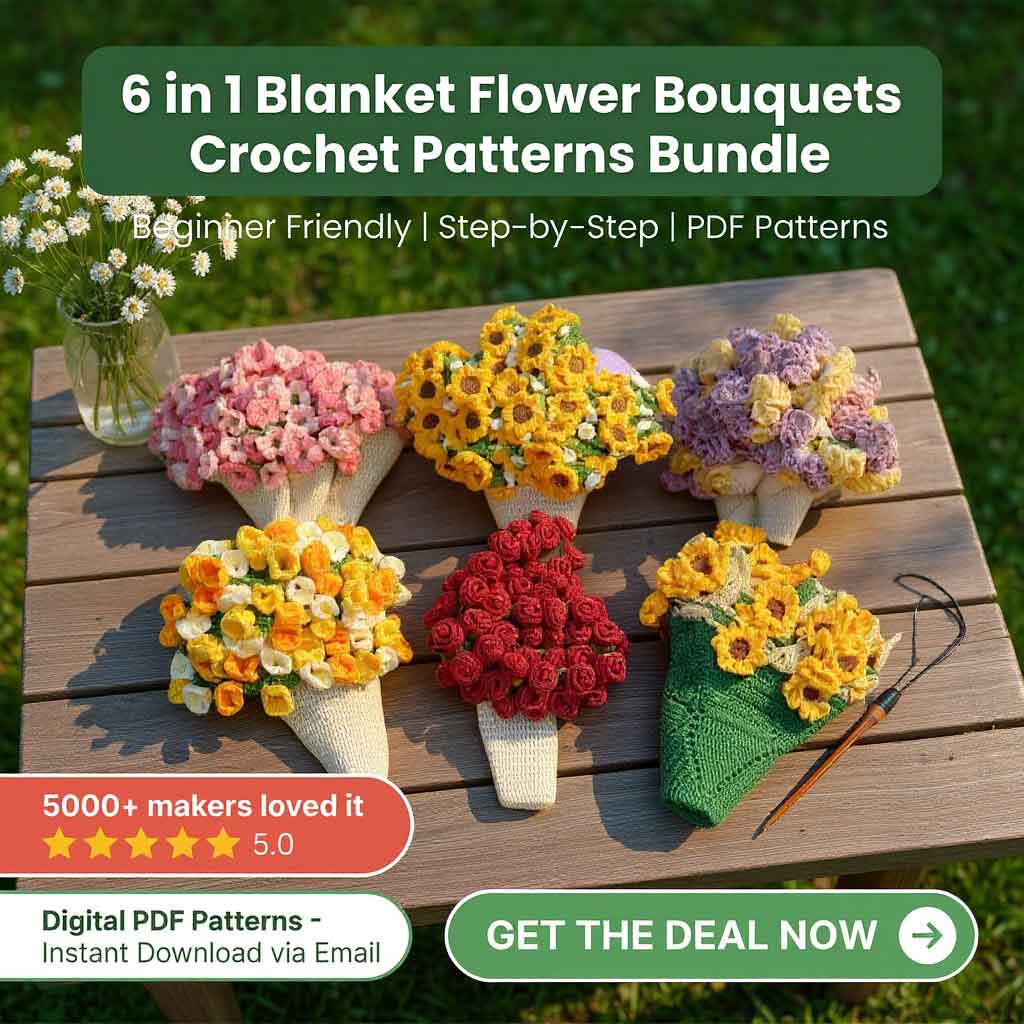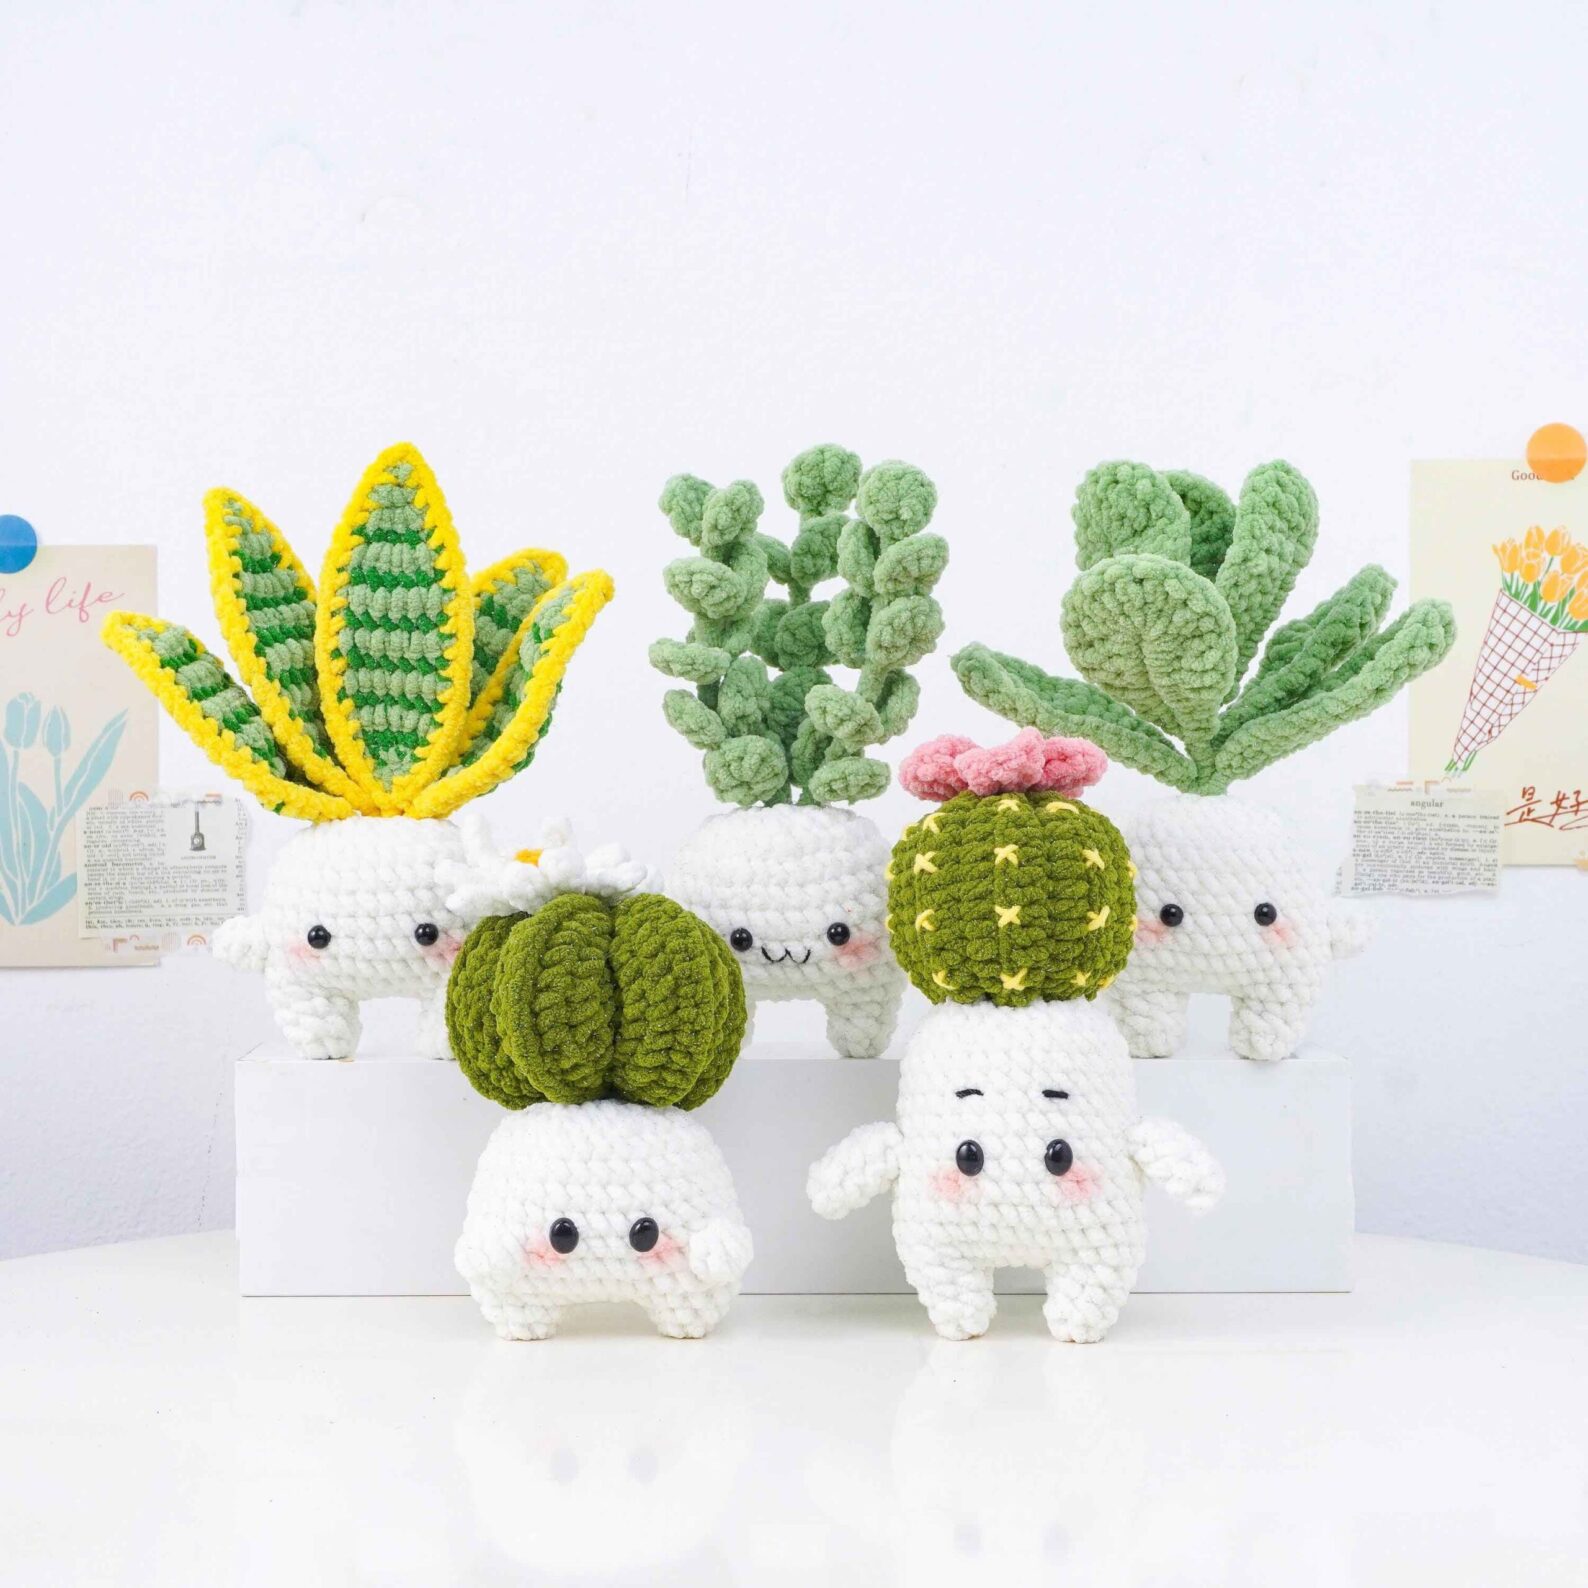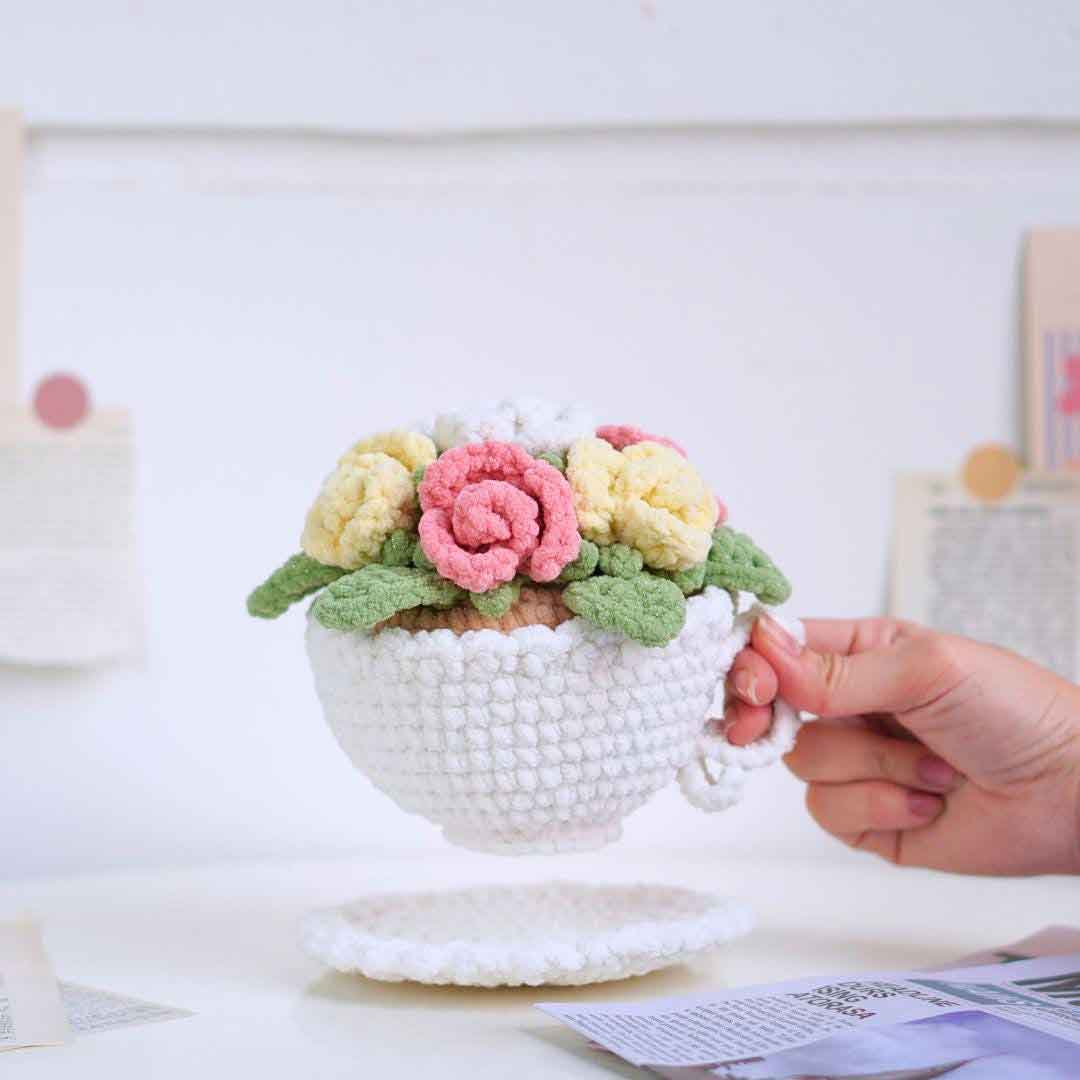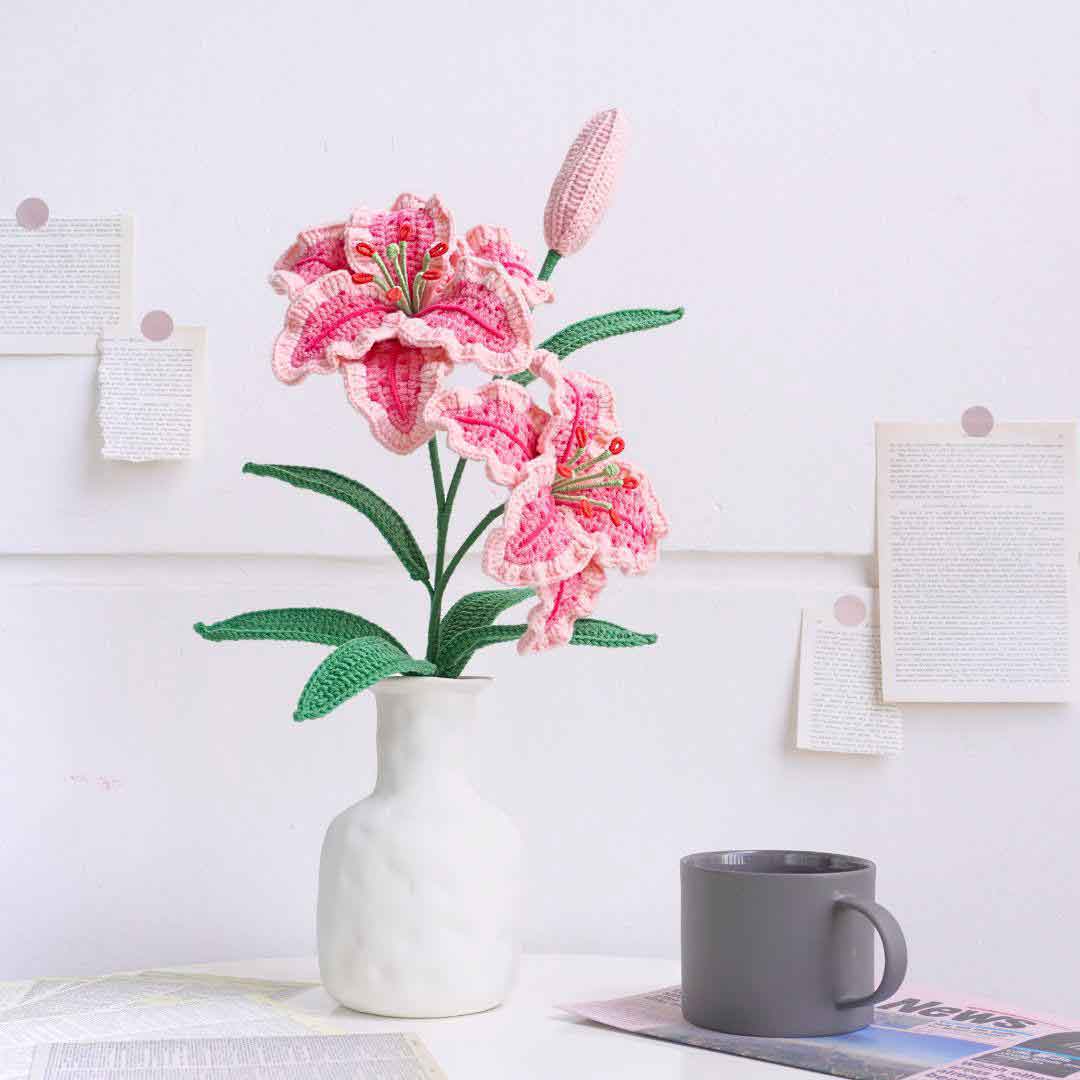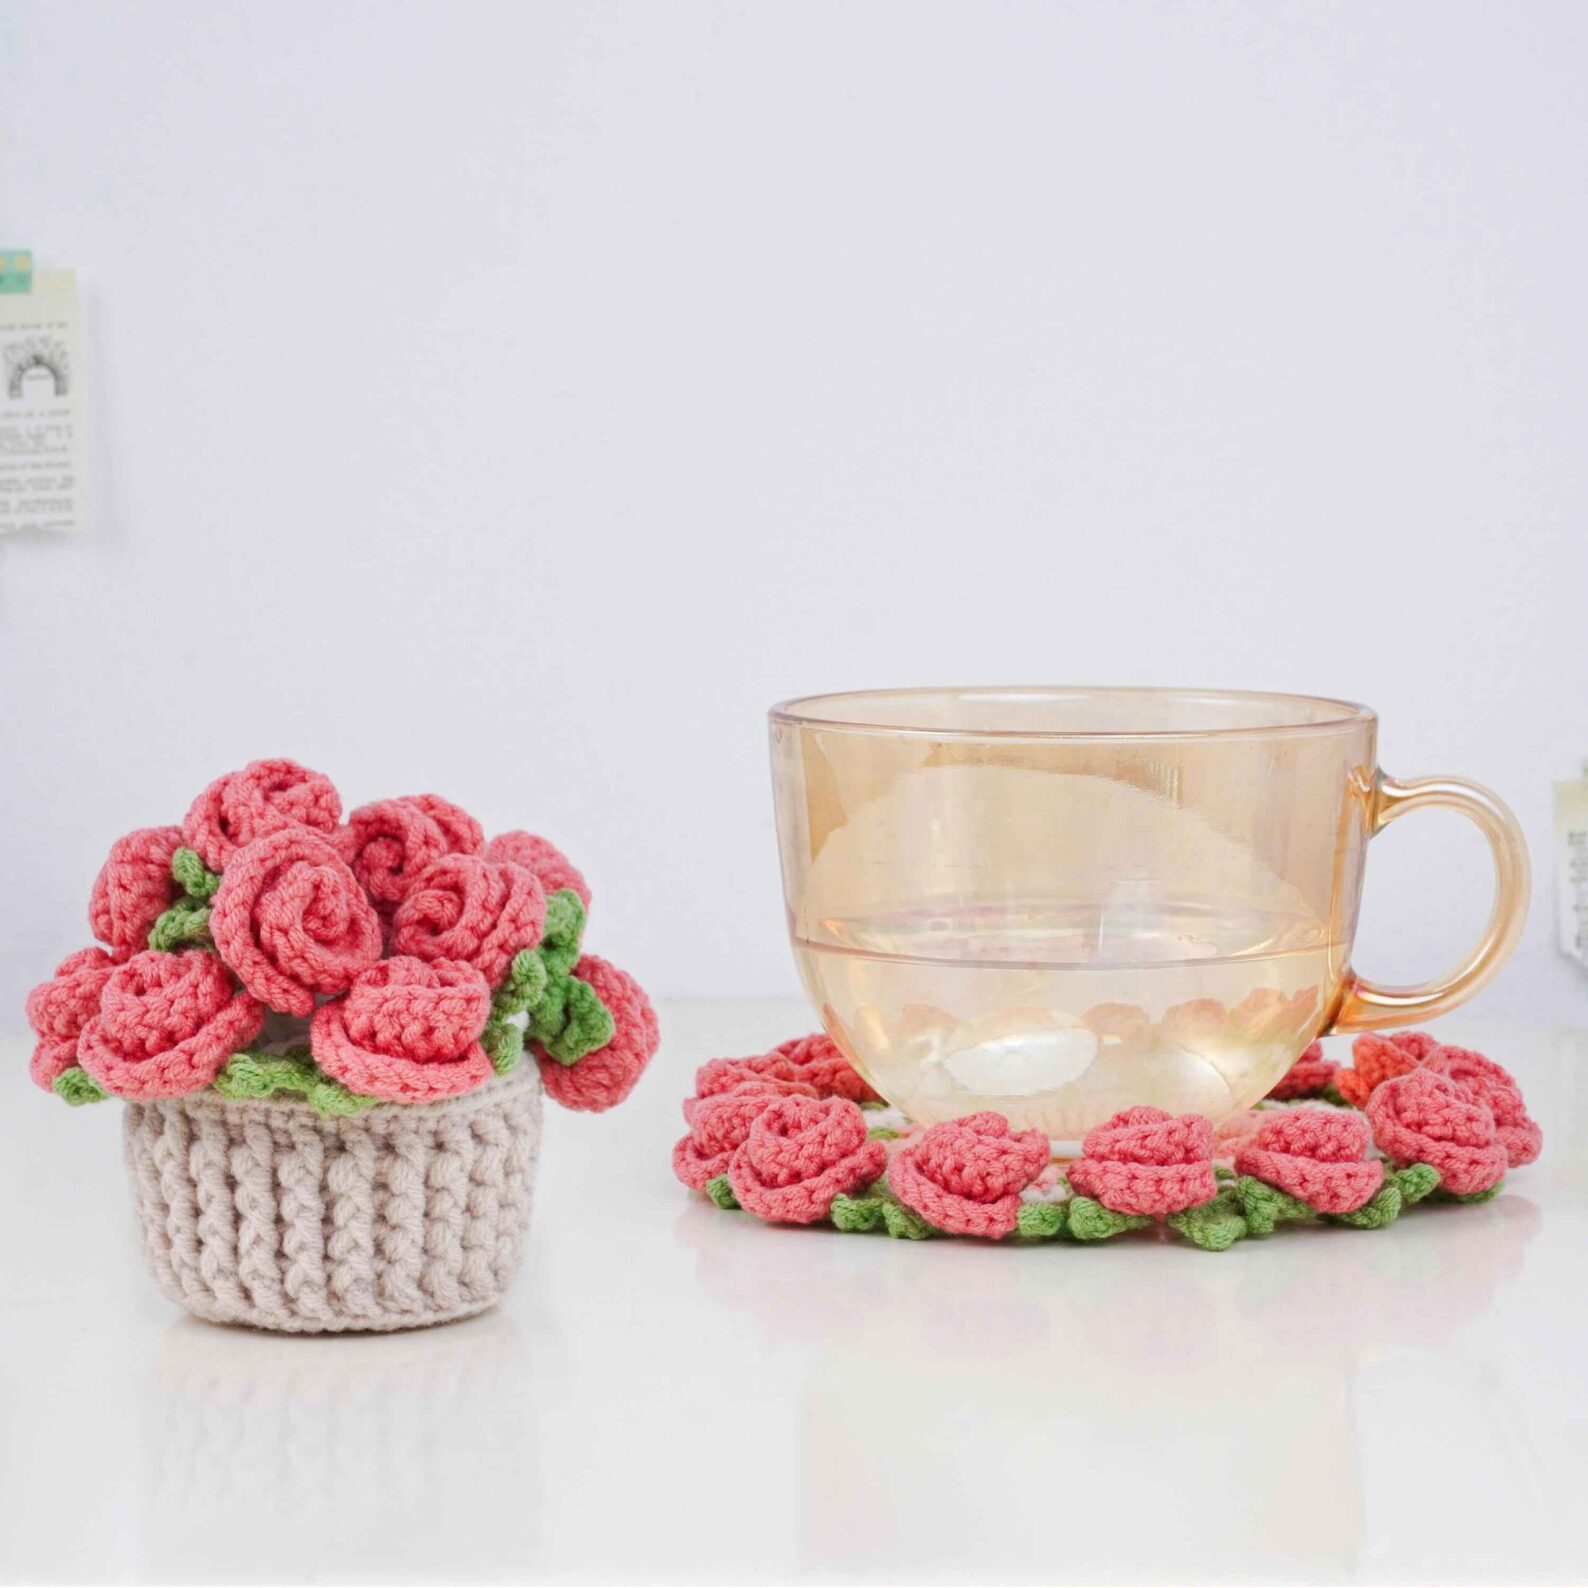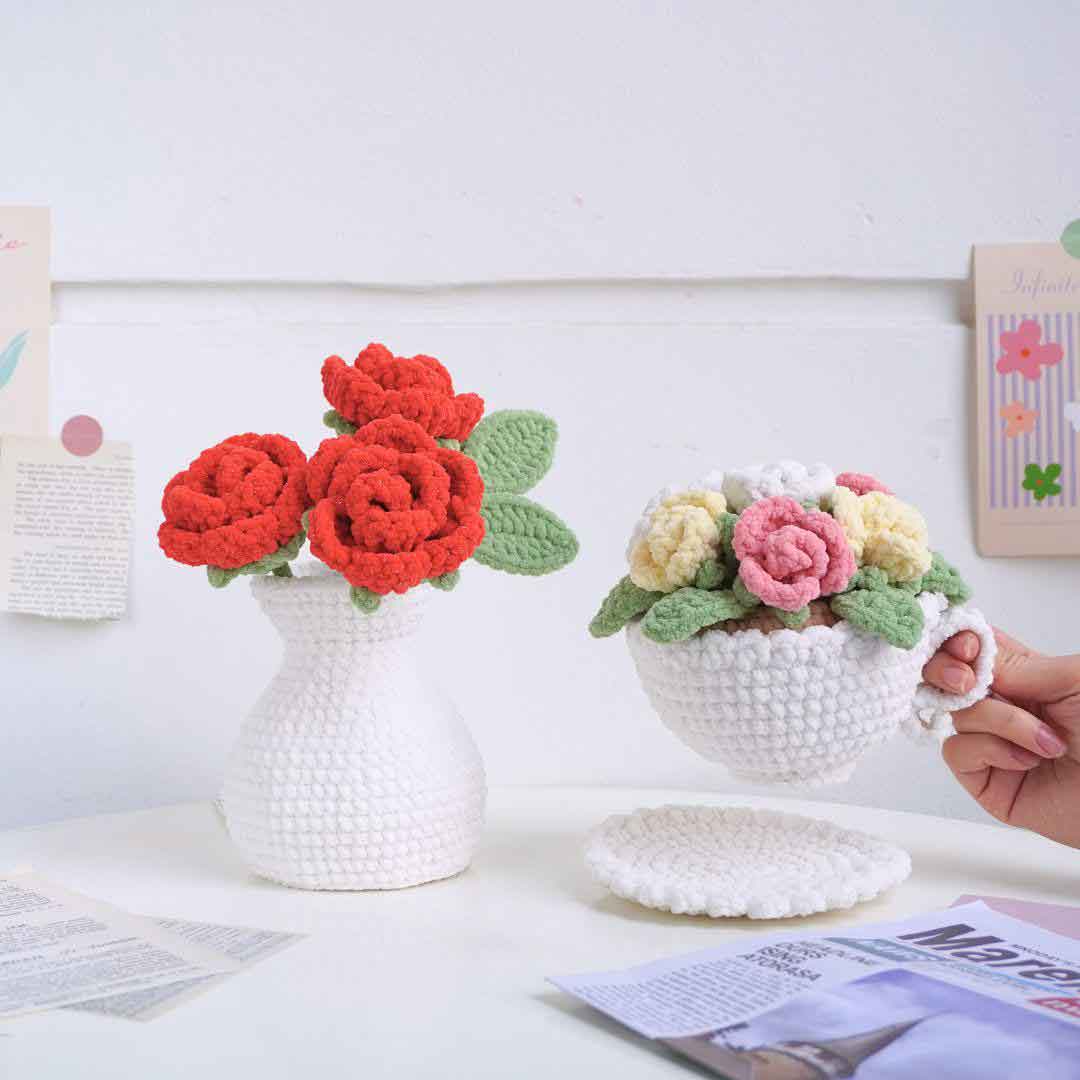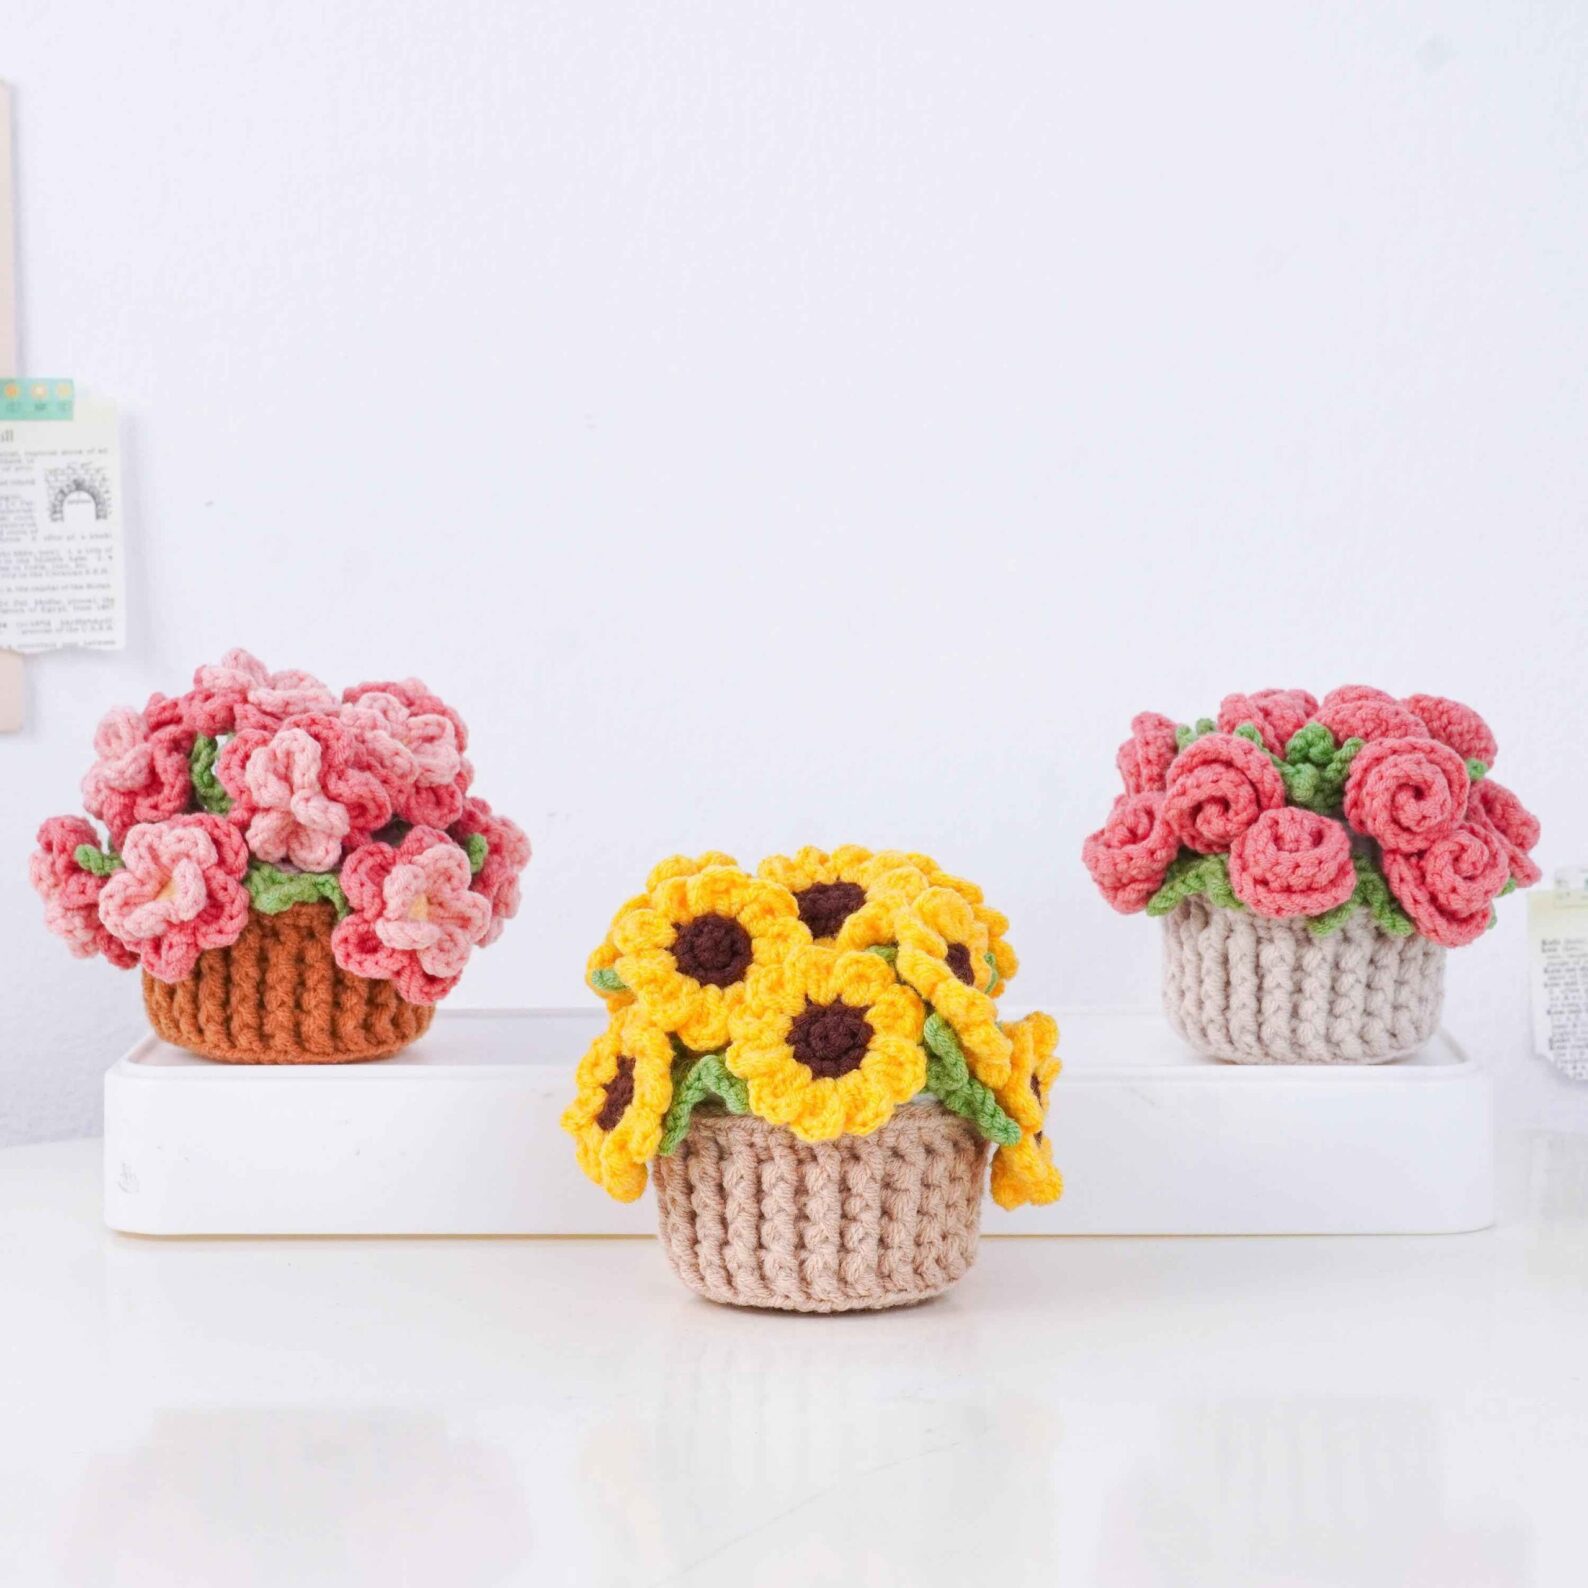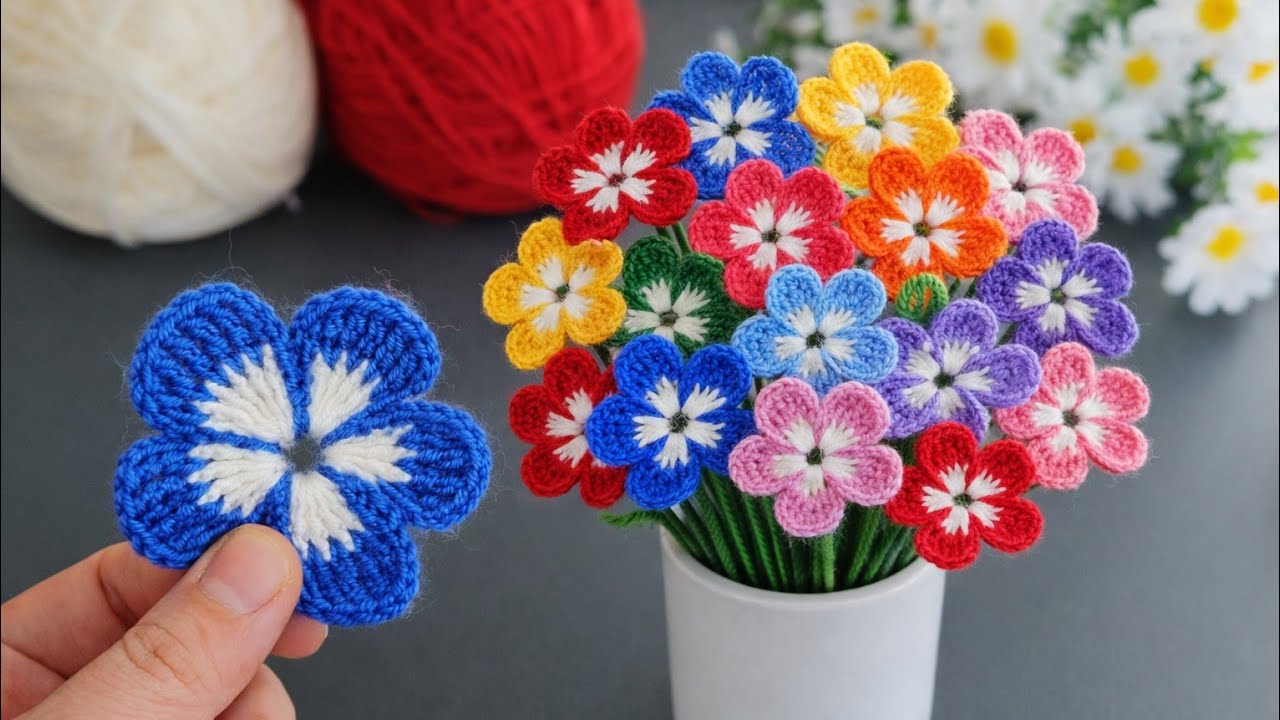
Are you looking for a quick and beautiful crochet project? This easy crochet flower tutorial is perfect for beginners and experienced crafters alike! These colorful, layered flowers are ideal for embellishing hats, bags, blankets, or even creating a stunning crochet bouquet.
In this tutorial, we will guide you through the process of making a two-tone 3D flower using simple stitches. Whether you’re searching for crochet flower patterns for Pinterest or a simple DIY crochet project, this guide has everything you need.
Crochet Abbreviations & Materials
Before we begin, let’s review the techniques and materials used in this pattern.
Materials Needed
- Yarn: Cotton or acrylic yarn in two contrasting colors (e.g., White for the center and Blue/Red for the petals).
- Crochet Hook: 2.75mm or 3.0mm hook.
- Scissors
- Yarn Needle (for weaving in ends).
Abbreviations Chart
| Abbreviation | Meaning |
|---|---|
| MR | Magic Ring |
| ST(s) | Stitch(es) |
| SL / SLST | Slip Stitch |
| CH | Chain |
| SC | Single Crochet |
| DC | Double Crochet |
| TR | Treble Crochet |
| INC | Increase |
| BLO | Back Loop Only |
| FLO | Front Loop Only |
| FPDC | Front Post Double Crochet |
| BPDC | Back Post Double Crochet |
Pattern Outline Chart
| Round | Color | Description | Total Petals |
|---|---|---|---|
| Foundation | Color A | Create a center ring with 8 chains. | – |
| Round 1 | Color A | Work 5 small petals into the ring. | 5 Petals |
| Round 2 | Color B | Work 5 larger petals behind Round 1. | 5 Petals |
Step-by-Step Crochet Flower Instructions
Follow these clear steps to create your own layered flower.
Step 1: Create the Foundation Ring
Using Color A (White), start by making a slip knot.
* Action: Crochet 8 CH.
* Action: Join with a SLST to the first chain to form a ring. This will be the center of your flower.
Step 2: Crochet the Inner Petals (Round 1)
We will now work 5 small petals directly into the foundation ring.
* Action: Crochet 3 CH (counts as first DC).
* Action: Work 5 DC into the center of the ring.
* Action: Crochet 3 CH and join with a SLST into the ring.
* Repeat: Repeat this sequence 4 more times until you have 5 white petals.
* Finish: Fasten off Color A and weave in the ends.
Step 3: Crochet the Outer Layer (Round 2)
Switch to Color B (Blue or Red) to create the 3D layered effect.
* Join: Attach Color B to the center ring, inserting your hook between two white petals.
* Action: Crochet 3 CH.
* Action: Work 6 TR (Treble Crochet) into the center ring. Ensure these stitches sit behind the white petals from Round 1.
* Action: Crochet 3 CH and join with a SC into the ring between the next set of white petals.
* Repeat: Repeat this process for all 5 petals.
Step 4: Finishing Touches
- Action: Fasten off the yarn, leaving a small tail.
- Action: Use a yarn needle to weave in all remaining ends securely on the back of the flower.
Why You’ll Love This Pattern
This layered crochet flower is not only easy to make but also highly customizable. You can experiment with different color combinations to match any project. It’s a popular choice for Pinterest crochet ideas because of its vibrant 3D look!
Happy Crocheting! If you enjoyed this tutorial, feel free to share your finished flowers with us on social media.