Crochet a Beautiful White Hydrangea-Style Flower with Leaves: Step-by-Step Tutorial
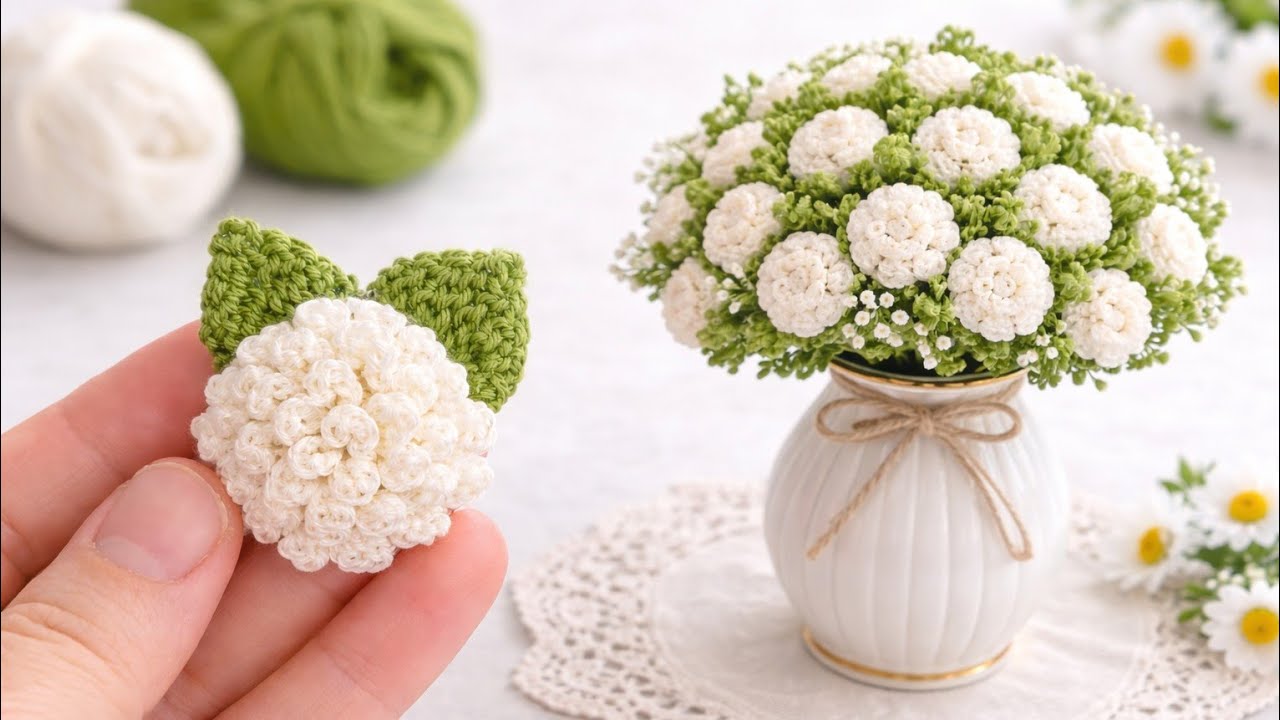
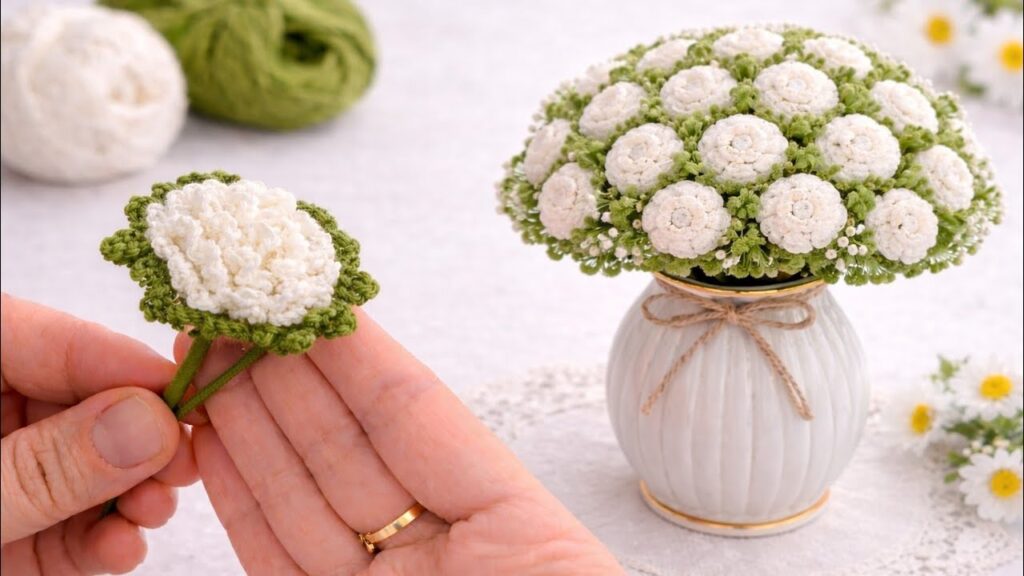
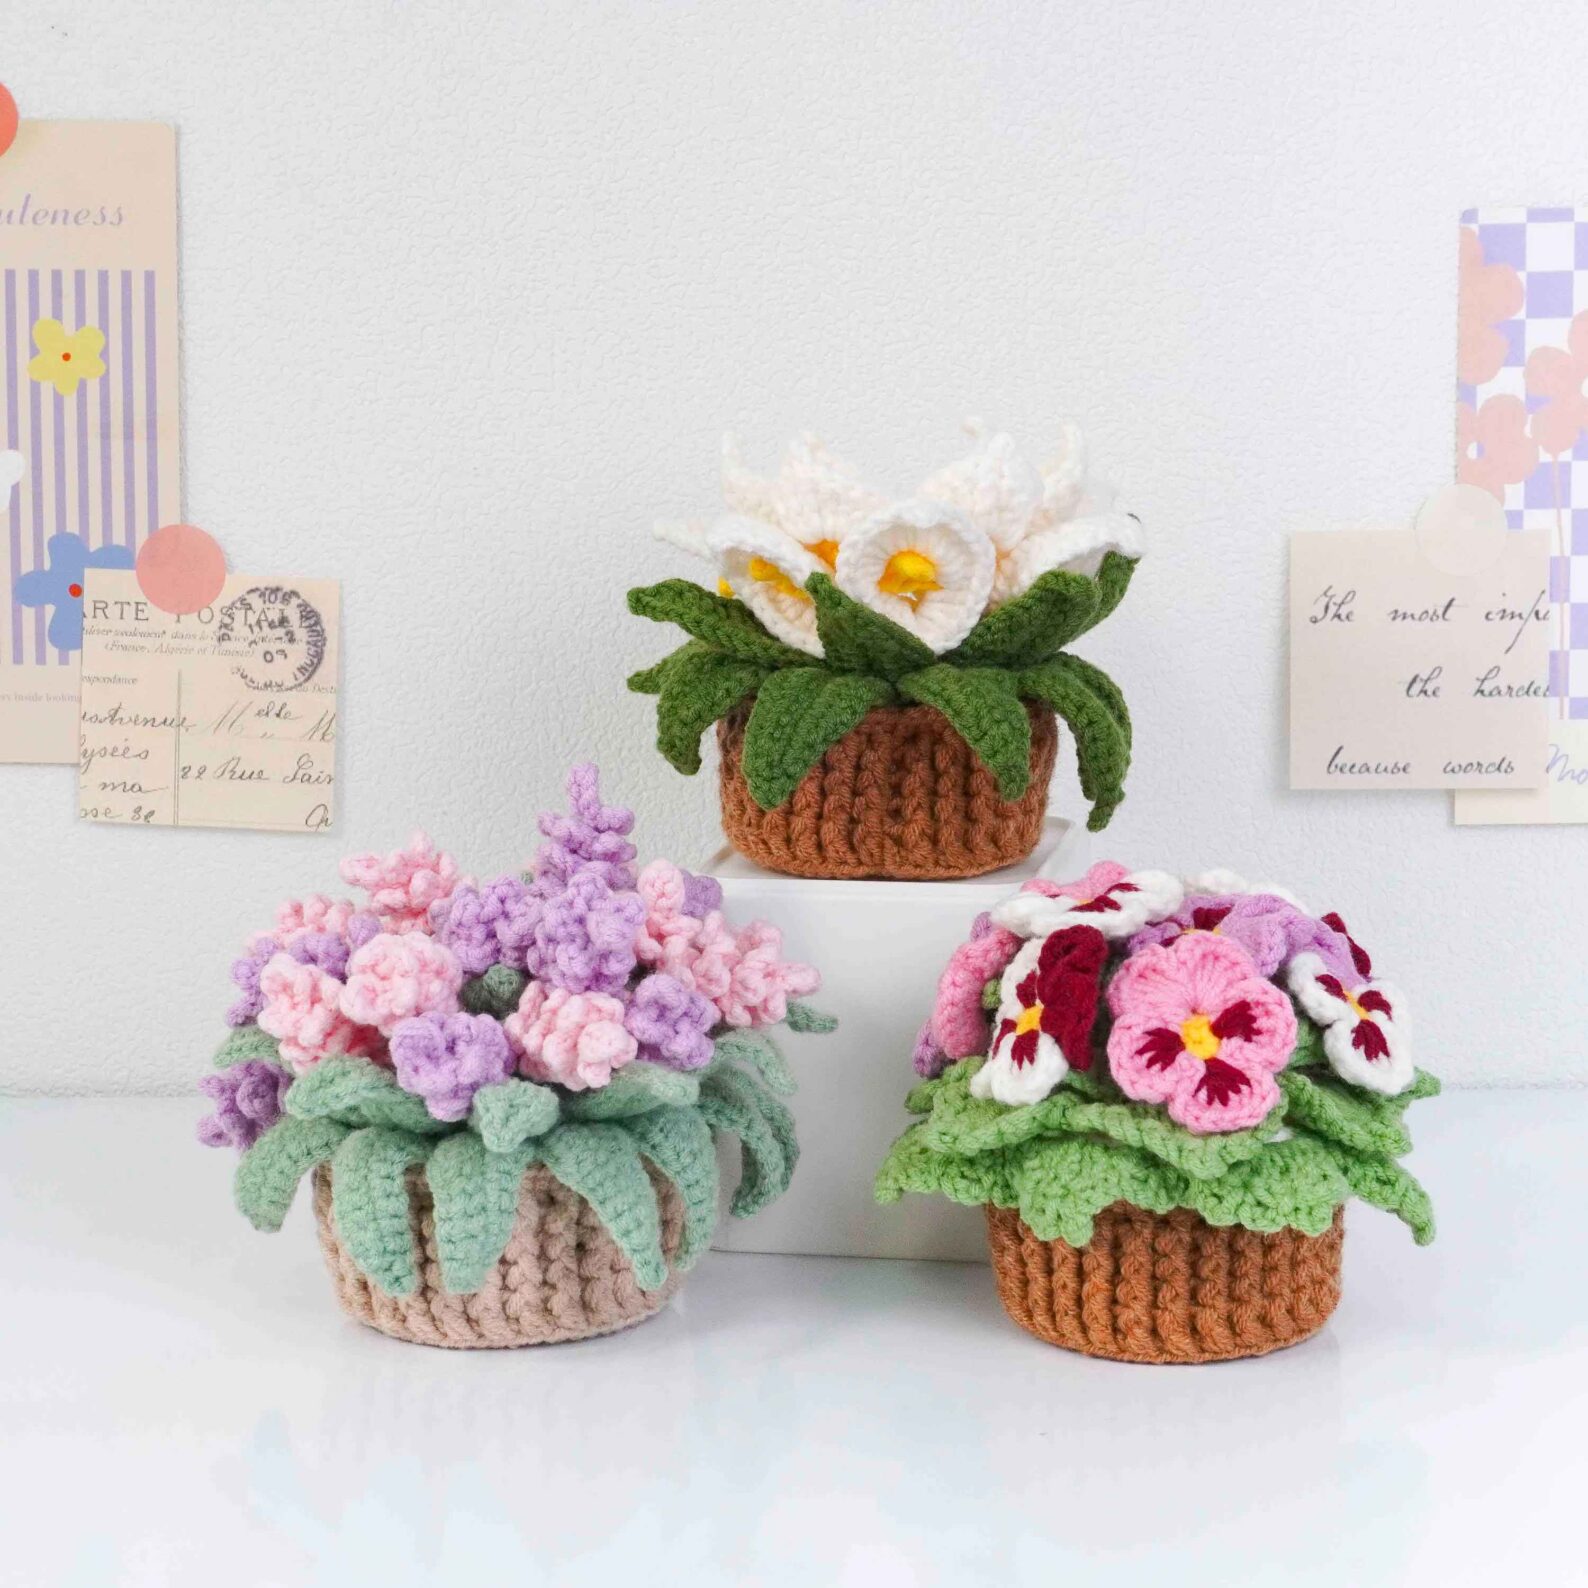
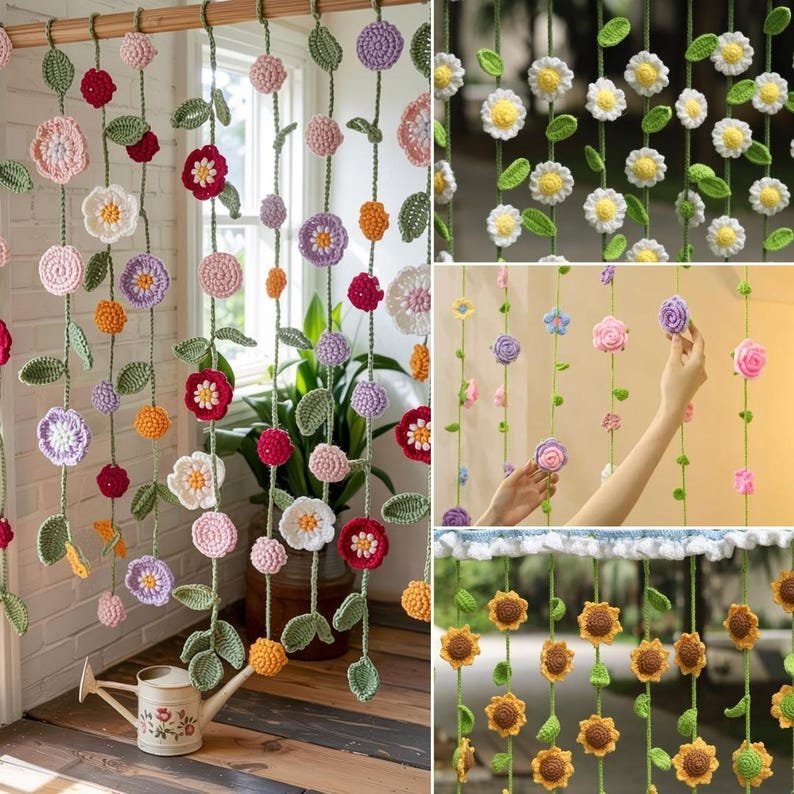
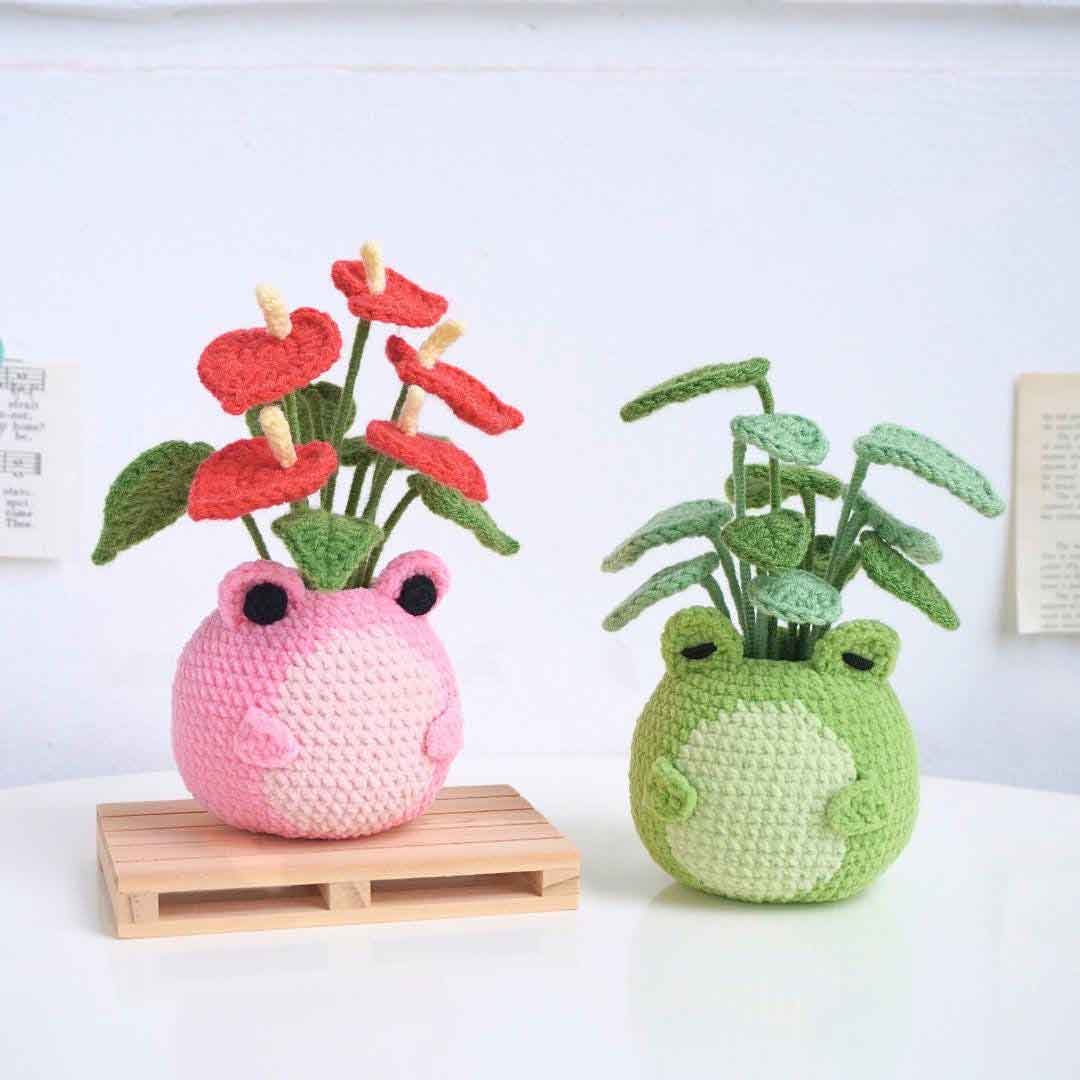
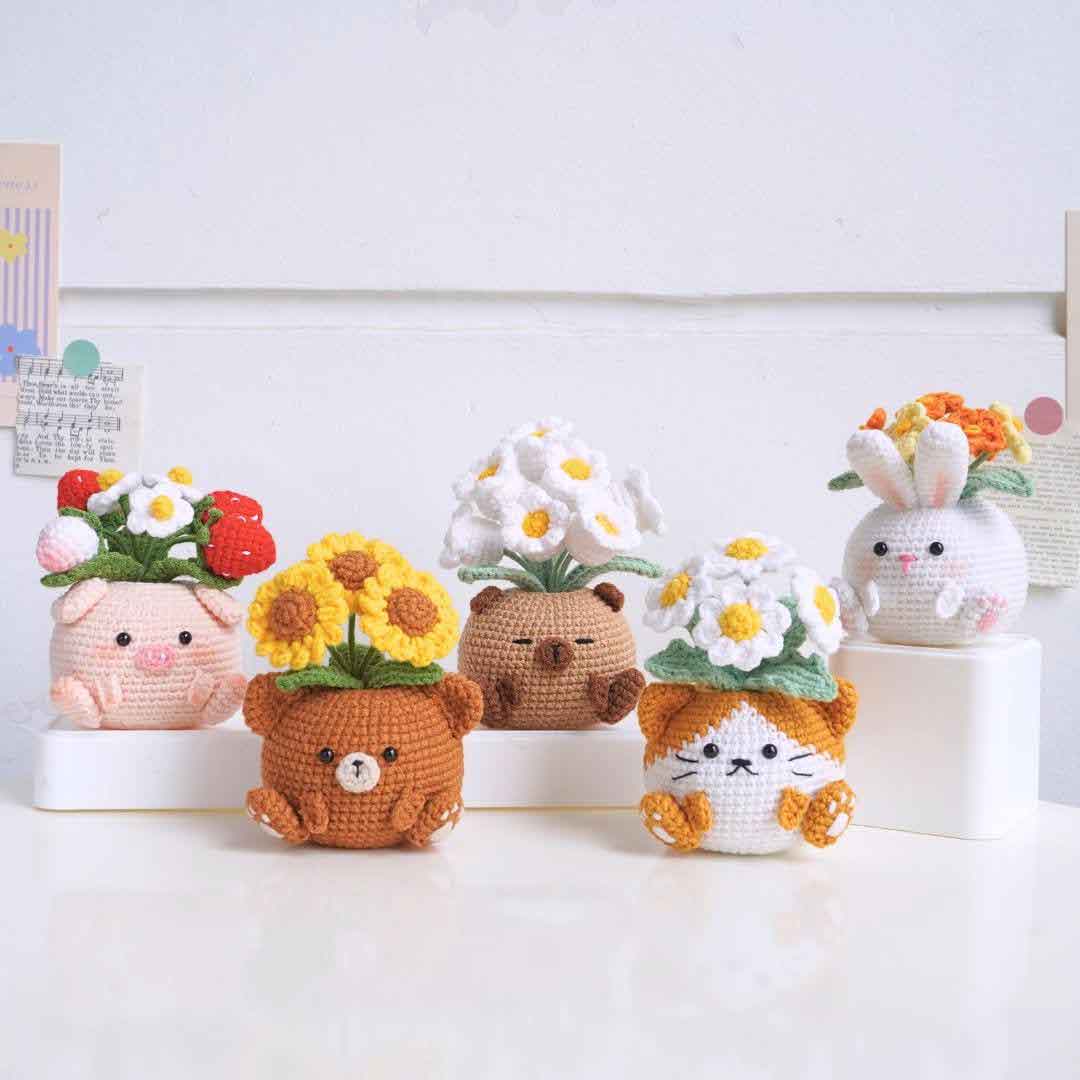
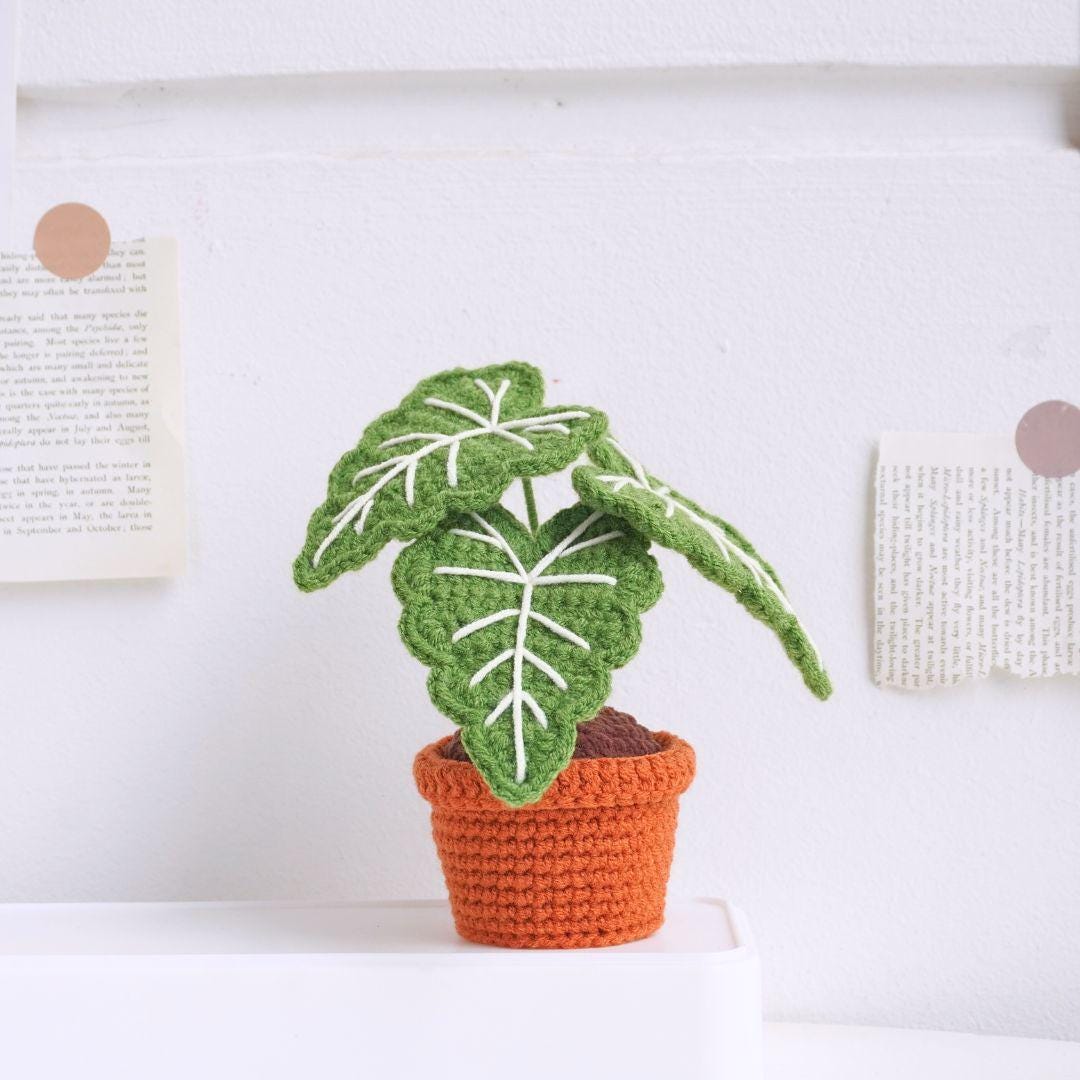
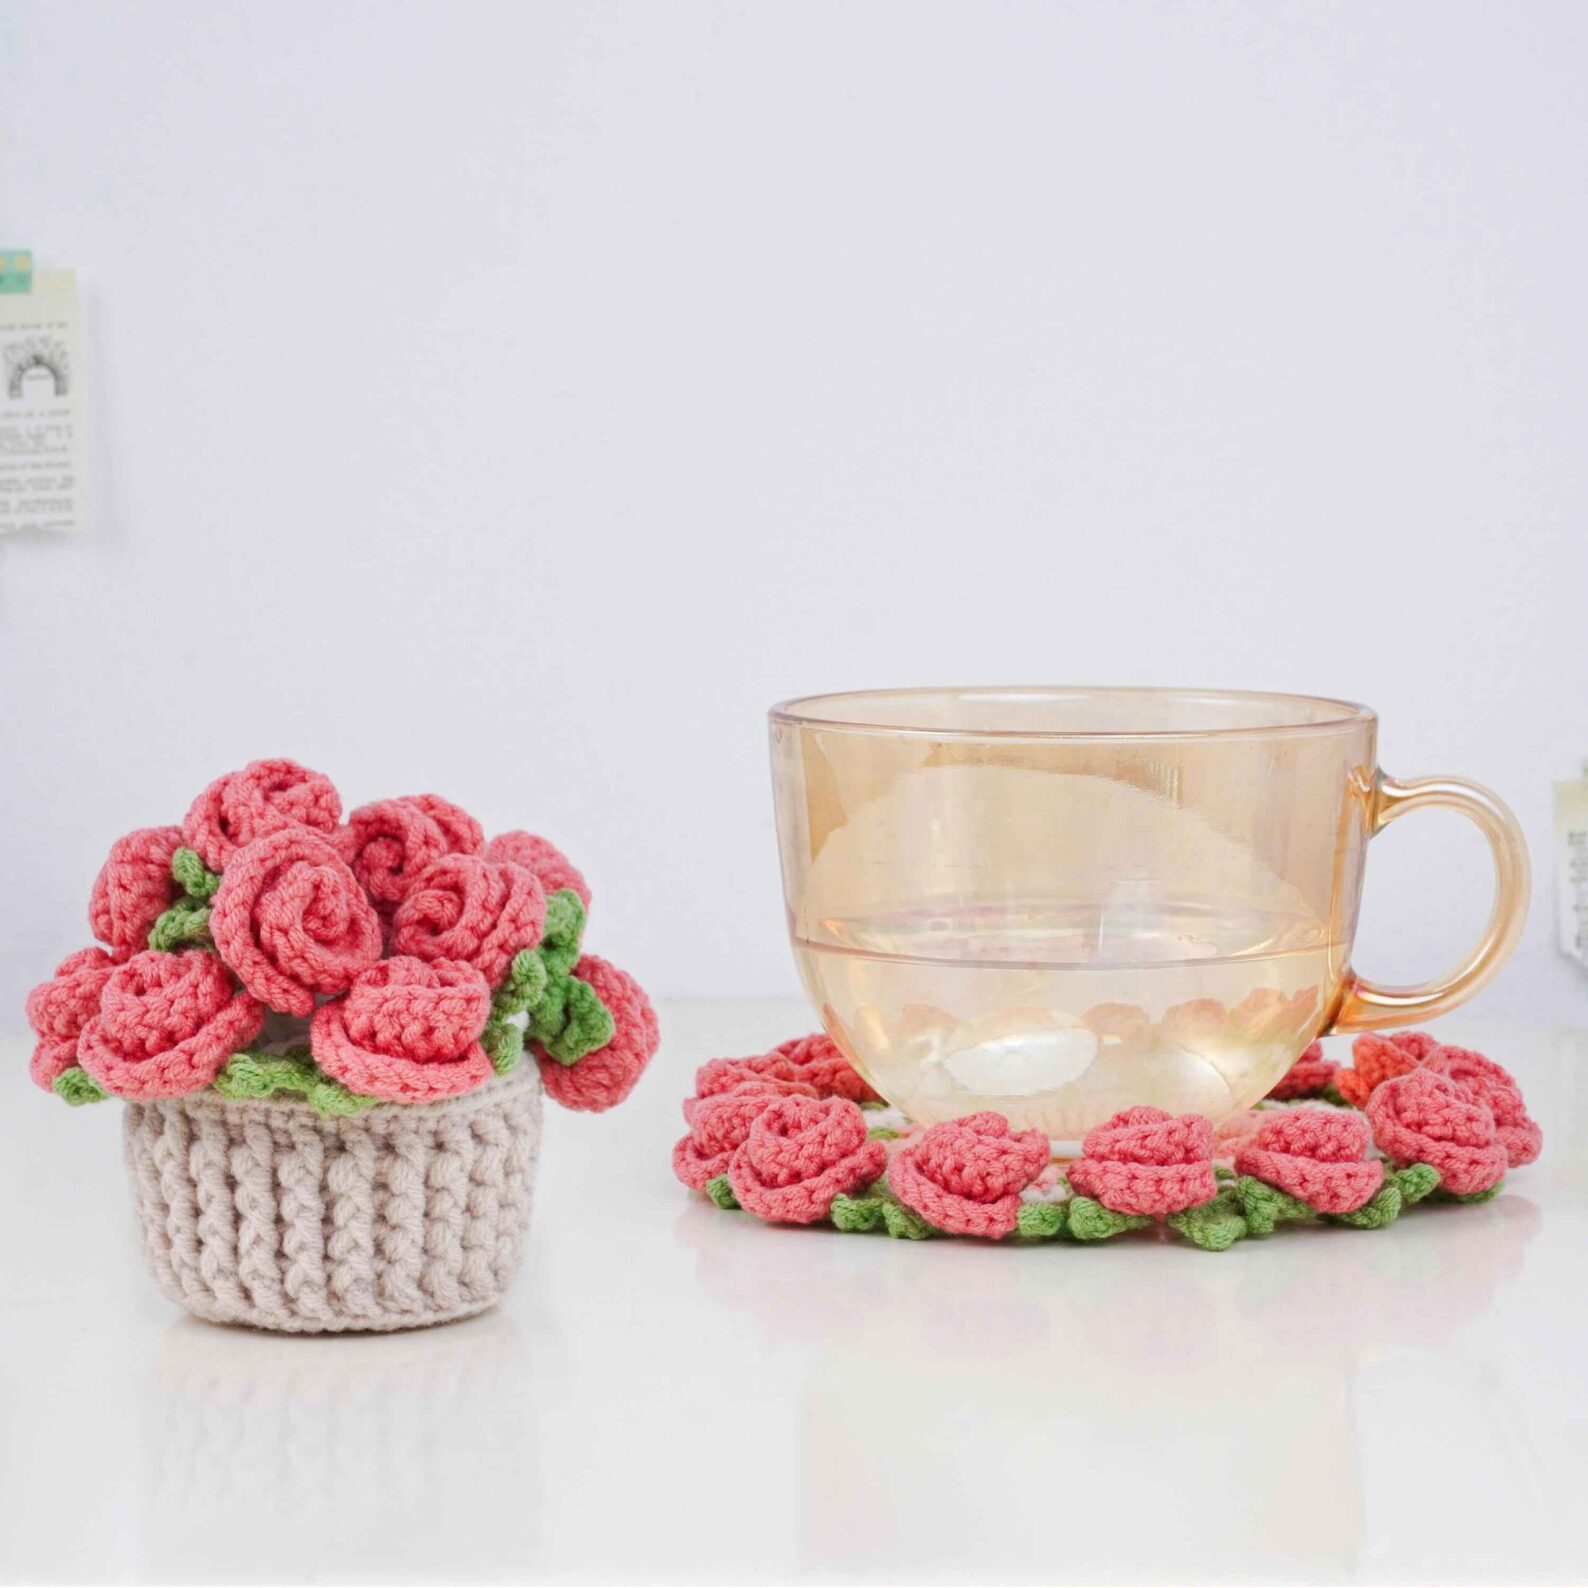
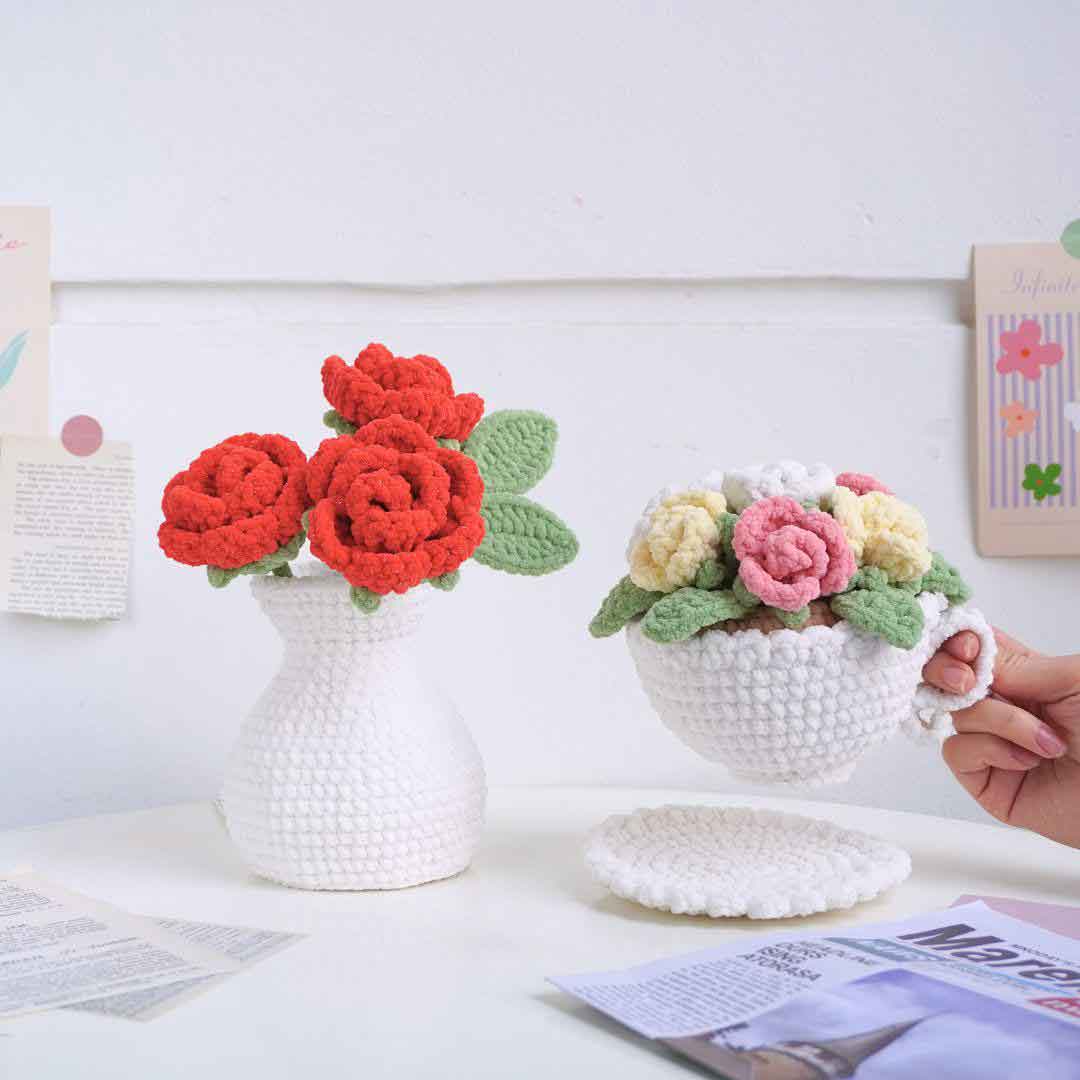
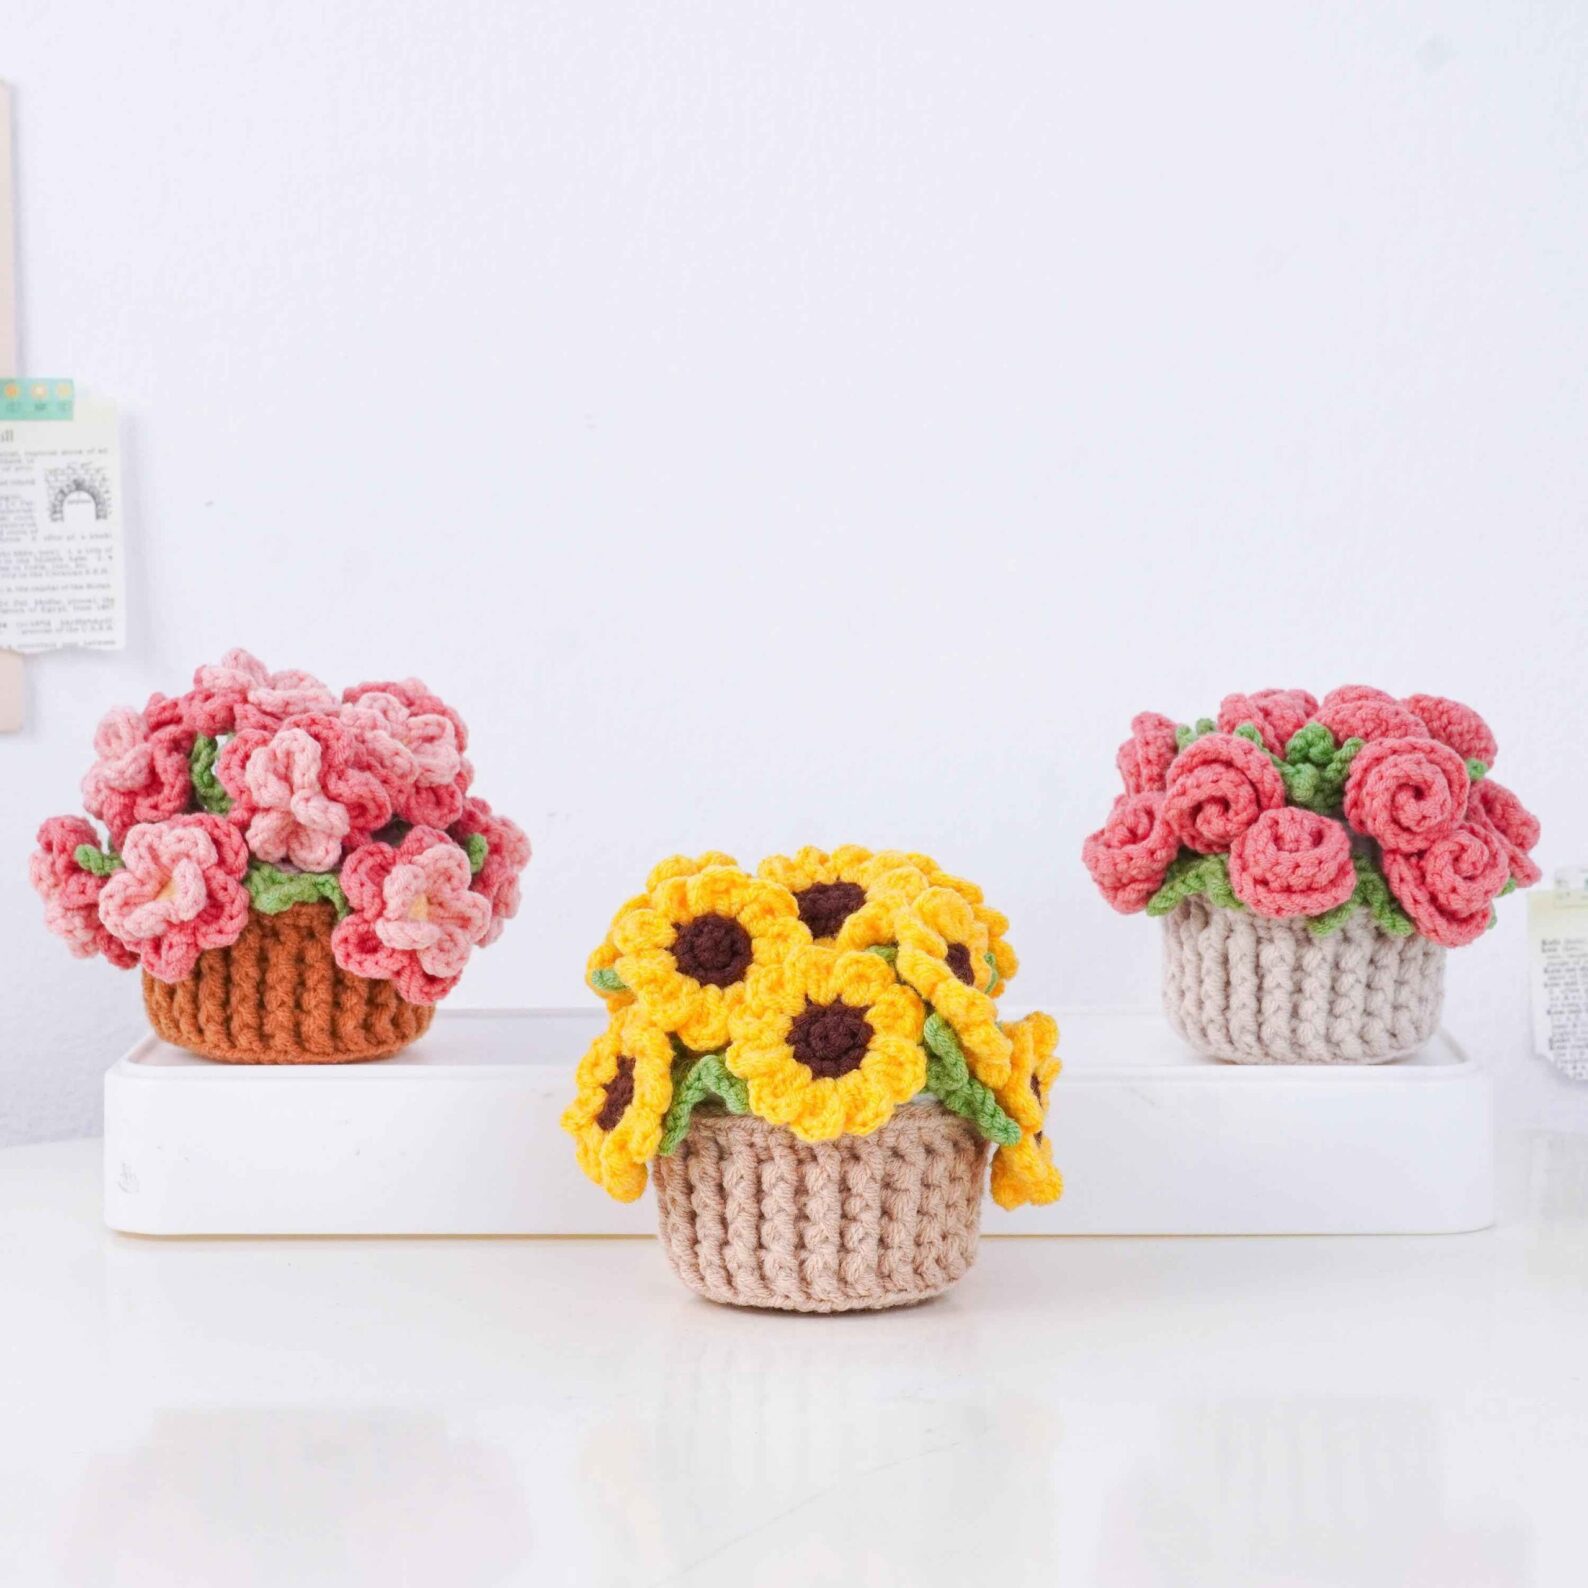
Welcome to another exciting crochet adventure! In this tutorial, we’ll learn how to create a stunning white flower with delicate green leaves, reminiscent of a hydrangea or carnation. This beautiful 3D crochet flower is perfect for embellishing garments, accessories, or creating charming floral arrangements. Our detailed instructions and clear outline will guide you through each step, making it easy for crocheters of all skill levels to achieve a gorgeous result.
Abbreviations & Materials
Before we dive into the pattern, let’s review the crochet abbreviations and gather the necessary supplies.
Abbreviations
| Abbreviation | Meaning |
|---|---|
| MR | Magic Ring |
| ST(s) | Stitch(es) |
| SL | Slip Stitch |
| SLST | Slip Stitch |
| CH | Chain |
| SC | Single Crochet |
| DC | Double Crochet |
| INC | Increase |
| BLO | Back Loop Only |
| FLO | Front Loop Only |
| FPDC | Front Post Double Crochet |
| BPDC | Back Post Double Crochet |
| HDC | Half Double Crochet |
| TR | Treble Crochet |
| TR INC | Treble Crochet Increase |
Materials
- Crochet Hook: 2.20mm (Tulip 3/0)
- Yarn: Crochet cotton yarn in White (for the flower) and Green (for the leaves)
- Scissors
Crochet White Flower with Leaves Outline
Here’s a structured overview of the steps to create your beautiful crochet flower and leaves:
| Part | Step | Yarn Color | Stitches/Techniques |
|---|---|---|---|
| 1 | Foundation Chain | White | CH 50 + 3 |
| 1 | Row 1: Half Double Crochet | White | HDC in every ST across |
| 1 | Row 2: Petal Loops (Repeat 42 times) | White | CH 6, SC in next ST |
| 2 | Attach Green Yarn | Green | Join to beginning of white base strip |
| 2 | Leaf 1: Chain 4 | Green | CH 4 |
| 2 | Leaf 1: Treble Crochet Increases | Green | TR INC in next ST, 2 TR INC in following STs |
| 2 | Leaf 1: Pointed Tip | Green | CH 3, SLST into first CH |
| 2 | Leaf 1: Mirror Shape | Green | 2 TR INC back down other side |
| 2 | Leaf 1: Finish Leaf | Green | CH 4, SLST into next ST of base |
| 2 | Leaf 2: Repeat Leaf Pattern | Green | Repeat steps for second leaf |
| 3 | Secure Ends | N/A | Cut yarn, fasten off loose ends |
| 3 | Roll Flower Base | N/A | Roll white strip tightly into a spiral |
| 3 | Secure Flower | N/A | Stitch bottom with needle/thread or yarn tail |
Step-by-Step Crochet Instructions
Follow these detailed instructions to crochet your beautiful white flower with leaves.
Part 1: The Flower Base and Petals (White Yarn)
- Foundation Chain: With your white yarn, create a foundation chain of 53 chains (50 chains for the base plus 3 turning chains).
- Row 1 (Half Double Crochet): Starting from the 3rd chain from your hook, work one Half Double Crochet (HDC) into every stitch across the entire chain. You should have 51 HDC stitches. This forms the base strip for your flower.
- Row 2 (Petal Loops): Turn your work. Chain 6 (CH 6). Then, skip the next stitch and work a Single Crochet (SC) into the following stitch. Repeat this sequence (CH 6, skip 1 stitch, SC in next stitch) 42 times along the length of the strip. This creates a series of long loops that will form the petals of your flower.
Part 2: The Leaves (Green Yarn)
- Attach Green Yarn: Join your green yarn to the beginning of the white base strip, where you started your foundation chain.
- First Leaf – Chain 4: Chain 4 (CH 4). This forms the stem of your leaf.
- First Leaf – Treble Crochet Increases: In the next stitch of the white base, work a Treble Crochet Increase (TR INC) (meaning 2 TR stitches in the same stitch). In the following stitches, work two more Treble Crochet Increases (2 TR INC) to gradually widen the leaf.
- First Leaf – Pointed Tip: Chain 3 (CH 3), then slip stitch (SLST) into the first chain of this CH 3 to create a pointed tip for the leaf.
- First Leaf – Mirror Shape: Work two Treble Crochet Increases (2 TR INC) back down the other side of the leaf, mirroring the shape you just created.
- First Leaf – Finish Leaf: Chain 4 (CH 4), then slip stitch (SLST) into the next stitch of the white base to secure and finish the first leaf.
- Second Leaf: Repeat steps 2 through 6 immediately following the first leaf to create your second green leaf.
Part 3: Assembly and Finishing
- Secure Ends: Once all crocheting is complete, cut both the white and green yarns, leaving small tails. Fasten off any loose ends by weaving them in neatly with a yarn needle or tying them securely.
- Roll the Flower Base: Starting from the end of the white strip opposite the leaves, begin to roll the strip tightly into a spiral. The long loops you created in Row 2 will naturally fan out, forming the full, multi-layered appearance of your flower.
- Secure the Flower: Once the flower is rolled to your desired fullness, secure the base of the roll with a few stitches using a needle and thread, or by carefully using the remaining yarn tail. Ensure the green leaves are positioned at the bottom of the flower.
Congratulations! You’ve successfully crocheted a beautiful white hydrangea-style flower with leaves. These charming floral pieces are perfect for adding a touch of elegance to any project. Enjoy your handmade creation!